

It's no surprise that we get a lot of customers looking for a way to record a barking dog problem. The barking is often worst late at night or happens on and off throughout the day, and by the time someone else is around to hear it the dog may be quiet. We also hear from customers dealing with loud music, shouting, vehicle noise, and other nuisance sounds coming from a neighboring property.
A lot of these customers are not looking to install a complete security camera system. They just want a camera that can hear the noise, record video and audio with a date and time stamp, and save the event so they can go back and review it. That is exactly what the audio detection feature in our IP cameras is useful for.
Watch how the Barking Dog & Noisy Neighbor Camera Kit works: In this video, I go through everything included with the kit and show how to connect the PoE camera to a router, set up audio detection, and find recorded noise events afterward. I also demonstrate how the camera records barking sounds without needing movement in the picture, and how to review those recordings from a computer or phone. The entire setup works with local microSD recording, so there's no NVR or monthly recording subscription required.
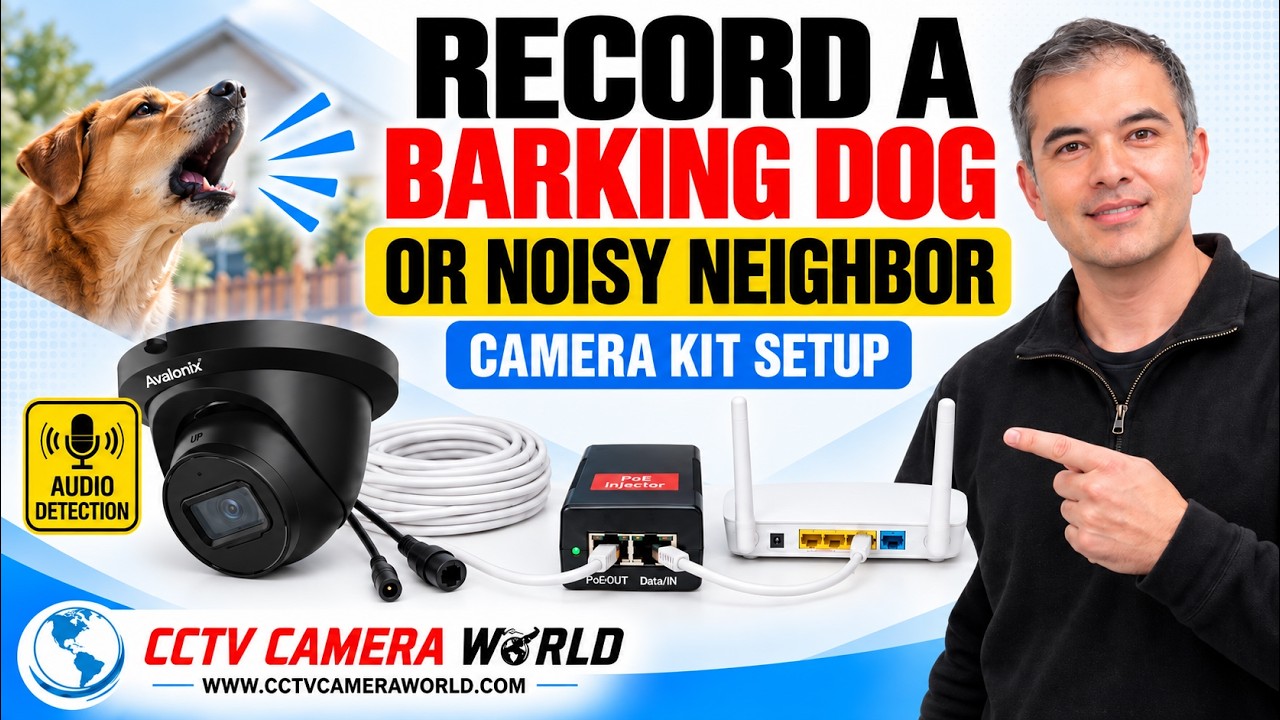
Video Transcript: Barking Dog Camera Kit Setup
Read the full video transcript
0:00 - Barking Dog and Noisy Neighbor Camera Kit
Thanks for tuning in to another video by CCTV Camera World. My name's Ray, I'm the manager. In this video I'll be showing you what comes with our dog barking camera kit.
You heard me right. It helps you detect if there's a dog barking near the camera. So if you've got a neighbor with a barking dog issue, or you've got a neighbor that just likes to yell and scream and makes noises, you can detect that noisy neighbor with our barking dog or noisy neighbor camera kit.
0:31 - Camera Overview and Local Recording
What we have featured is this black colored 4 megapixel camera with a microphone built in. It is a turret camera. It's indoor and outdoor rated, weatherproof. You can put it outside without needing any shade. Most people mount it to an eave or just a wall. There are optional junction boxes available as well if you need it.
I'll dig in right now into what comes with the basic camera kit that gets you started with all you need. And best of all, there are no monthly fees. There's a memory card that comes inside and lets you record. You can choose the capacity of that memory card when you're checking out online. Record that video inside the camera and access it through a PC or through our phone app.
1:15 - What's Included in the Kit
Now let's see what comes in the kit. You always get a camera, of course. And this one happens to be that 4 megapixel camera with a built-in mic. It is a turret camera. It's outdoor and indoor rated. You can actually position it when you're mounting it. Usually people mount it on an eave or on a wall.
There is a compartment for a microSD. If you happen to open it, make sure you seal it back. It comes with a mounting plate. You first drill your holes and there are screws and anchors included.
2:00 - Mounting and Connecting the PoE Camera
Put your pigtail through this and connect your Ethernet cable. This is a PoE camera. This is a 12 volt DC connection. You don't need this, but don't cut it off. All you need is to connect an Ethernet cable with this connection.
Once you connect it, you can slide this plate onto the camera. Imagine this being screwed into your wall or your eaves. You align the base and the camera together and slide it down or up depending on how you have it. It locks in.
2:55 - Camera Accessories and Weather Protection
Let me go over what's included in the kit. You've got your camera, your mounting plate, a mounting plate template, mounting instructions, screws and anchors. You have your weather grommet. If you don't have a junction box or a wall to tuck the cable into, you don't want to expose this to the elements. It'll corrode. That's why it comes with a weather grommet.
3:19 - PoE Injector and Ethernet Cables
There is what's called a PoE injector. This connects to the camera and to your power socket. It has a power connection that connects to the AC cord that comes with it. Plug it into a grounded outlet indoors next to your router.
We provide up to 100 feet of CAT5e cable that you can run over to the camera, and a shorter 6 foot cable that you plug into your router. What this does is take power from the outlet, mix it with the data, and send it to the camera and back over to your router.
4:05 - Connecting the Camera to Your Router
You can first bench test everything before you go mount the camera so you have a better understanding of how to go through the setup process.
You connect the long cable to the camera and make sure it's protected from the elements. The other end of that long cable connects to the PoE injector on the side that says Power + Data Out.
Then connect the other data connection into one of your router's LAN ports. This lets your camera go on the internet or your local network. You can still connect to the camera over your local network without an internet connection.
5:41 - PoE Injector Options
Before we move on, I do have to make a note about the PoE injectors. In the future we'll be carrying this different model PoE injector. It's more compact and has a different kind of power cord, but it still plugs into your power outlet.
Data In is on one side and PoE Out goes to the camera. Make sure you follow the labels on the injector when connecting your cables.
6:43 - Connecting the Camera to a Windows or Mac Computer
Before I delve into audio detection setup, let me show you how to connect the camera to your Windows or Mac laptop. On top of the box for each camera, we usually have two labels. One is your username and password, and the second label has a QR code for the app setup guide and the serial number.
If you have a Mac, please check with us before buying the camera so we can confirm compatibility with your version of Apple OS.
7:24 - Adding the Camera to SmartPSS
On your Windows computer, go to the Start Menu and open SmartPSS. Go to Devices and click Add. Change the add mode to Serial Number and give it a device name.
Enter the serial number from the top of the box, then enter the admin username and password. Double-check everything and hit Add. Usually it takes about five to ten seconds to connect. In my case, it says Online Status, and that's it.
8:59 - Recording Barking Dogs and Noise Events
In the second half of the video, I'm going to show you how to start recording and view and play back the video. Once I've added my camera to SmartPSS Lite, it lets me connect to the camera by clicking the Link to Web button.
That opens the camera's web interface. I can see live video and hear audio from the camera. Now let's get to the settings.
10:27 - Setting Up Audio Detection
Go to Event and let's set up your audio detection. Before you do it, make sure you don't have video detection enabled. Disable that and hit Save.
Then go to Audio Detection. We go to Intensity Change and Input Abnormal. Once you hit Save, you'll start seeing some lines. Because there's a microphone on this camera, it's hearing me. As I talk, that audio is being picked up and it's over a certain threshold. That's why these lines are red.
I'm going to quiet down for a second. Because I was quiet and the ambient noise was low, it became green. That means the audio wasn't triggering an event, while the red sections show the activity that can trigger recording.
11:23 - Anti-Dither and Audio Event Timing
I set my anti-dither to one second. Anti-dither is the period of time there has to be a lack of noise happening for it to start recording again.
For example, if someone starts yelling and keeps yelling, but doesn't quiet down for more than the anti-dither period, the camera treats that as part of the same event. You can configure this based on your preferences.
12:18 - Threshold, Sensitivity and Recording Delay
You can change your threshold using this bar. Sensitivity is how sensitive the camera is to picking up that noise and making it a red bar for recording.
Make sure you hit Record. Record Delay is how long the camera will keep recording after the last audio event ended. Even if there was silence, it'll still keep recording for the configured time.
There are also options for snapshots and email notifications, but for this application I prefer keeping the setup simple. We already configure most of these settings when we ship the camera.
13:14 - Playing Back Events from the microSD Card
In the web interface, you can play back video and audio, or you can do it through SmartPSS. I like SmartPSS because it's faster and the video is more in sync with the audio.
Go to Playback, choose the date from the calendar and select Event. That will show the recorded events triggered by audio detection.
14:17 - Simulated Barking Dog Recording
Now I'm going to show you what a dog barking clip would look like. I recorded a dog barking event simulated through a video on YouTube.
One thing to note is that it can take a few minutes for the recorded event to appear on the microSD card. Give it some time before checking playback.
If a dog starts barking again within the record delay period, the camera may continue recording that event instead of creating a completely separate clip.
15:33 - Finding Audio Detection Events
Go back into Playback and select Event. Here is the dog barking event. You can see it recorded both audio and video at the time it happened.
These microphones are pretty sensitive. Outdoors, the microphone can pick up loud barking from a distance, depending on background noise and the installation environment.
16:22 - Playback in SmartPSS
SmartPSS is our favorite way of watching live and playing back video. You can go to Home, select Playback, choose your camera and time, and hit Search.
It gives you a timeline of the recorded video. You can expand it, zoom in, and play back the recordings. To hear audio, click the speaker icon and turn up the volume.
17:55 - Recording Sound Without Video Movement
The video can be perfectly still and the camera can still record an event because it picked up the audio.
For this demonstration, I played a YouTube video of a dog barking on my phone. The camera didn't need the picture to change. It detected the audio and recorded it.
We had a customer with noise coming from an apartment above them. They mounted the camera inside their apartment and used it to record the sound with date and time stamps so they could document how often it was happening.
19:04 - Playback from the DMSS Phone App
The last thing I want to show is playback through your smartphone. I have the camera added to my DMSS app and can scroll through the recorded video pretty quickly.
Make sure the audio is on and use the speaker icon to hear it. You can zoom in on the timeline, find recorded clips, and play them back even when you're away from home.
19:57 - Final Thoughts
Hopefully you found this video useful. If you have any questions, please feel free to leave a comment below or contact us at CCTV Camera World. Thanks for watching.
While our IP cameras are not made specifically to recognize barking dogs, cameras with audio detection can be set to record when the sound level changes enough to trigger an event. Using the threshold and sensitivity settings, you can fine tune the camera for the normal background noise around your property and the type of disturbance you are trying to record.
What you need to know is that the camera won't know if a dog is barking, someone is yelling, music is playing too loudly, a horn is honking, or another loud sound occurs - it simply detects changes in audio level. That can help with a barking dog situation, as well as many other noisy-neighbor situations.
To make this easier for someone who only needs one camera, we now offer a Barking Dog and Noisy Neighbor Camera Kit. It includes the camera with built-in microphone, a 256GB microSD card, PoE injector, and the network cables needed for a basic standalone installation. No, you do not need an NVR to get started.
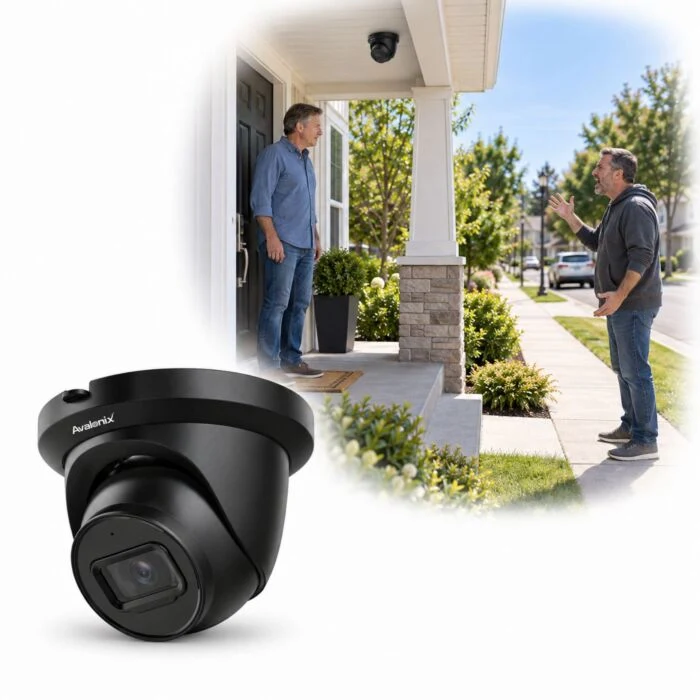
Barking Dog & Noisy Neighbor Camera Kit with Audio Detection
Includes the 4MP camera with built-in microphone and audio detection, 256GB microSD card, 30W PoE injector, and Ethernet cables needed for a standalone setup.

What's needed to record a barking dog?
If you use the kit above, most of what is needed is already included. The basic setup consists of the following:
- A camera with a built-in microphone and audio detection. The Barking Dog and Noisy Neighbor Camera Kit uses a black Avalonix 4MP PoE camera with a built-in microphone.
- A microSD card installed in the camera for local recording. The kit includes a 256GB microSD card.
- A PoE injector to power the camera and connect it to your computer network. A 30W PoE injector is included with the kit.
- Network cabling. The kit includes a 6ft CAT5e cable for the router side and a 100ft CAT5e cable for the camera side.
- A Windows PC is recommended for the easiest access to the camera's web interface and for adjusting the audio threshold and sensitivity. A Mac can also be used, but for configuration we recommend Windows.
- A router or network switch so the camera can be accessed on your network.

An NVR is not required for this setup. The camera records directly to its microSD card. If you later find that you need longer recording storage, want recordings from several cameras in one place, or want to expand into a larger system, a compatible NVR can be added later.
What does the setup look like?
Short answer: it's pretty easy to set up. The camera is powered through a process known as Power over Ethernet, or PoE. That means one Ethernet cable can feed the camera power and connect it to your network, so there's no need to run a separate power cable to the camera.
The basic connection is:
Router or Network Switch → 6ft CAT5e → PoE Injector → 100ft CAT5e → Camera
The short cable connects the router or network switch to the data side of the PoE injector. The longer cable connects the PoE side of the injector to the camera. That one cable going to the camera carries both its power and network connection.
If you're new to security cameras, the picture below should give you a good idea of how easy this is to connect. This setup is not limited to professional installers. Homeowners and DIY users who are comfortable connecting Ethernet cables can handle the physical connections themselves.

If you have never connected a standalone IP camera before, follow our Standalone Security Camera Guide to get the camera onto your network and access its settings.
How the camera records a barking dog
Once the camera is mounted and connected to your network, the next step is to adjust Audio Detection. This is what allows the camera to react to sound instead of relying only on motion in the video.

For example, if the camera is looking over a backyard or property line, it can continue watching the area while the microphone listens for changes in sound. When a bark or other noise crosses the audio settings you have configured, the camera can create an event and record it to the microSD card.
The camera is not identifying the sound as a dog bark. It simply knows that the audio level changed enough to meet the conditions you set. That distinction is important because it means you have to spend a little time testing the sensitivity and threshold for your particular property.
How to set up Audio Detection based recording
Once the camera is set up and accessible on your computer network, use its web interface to configure Audio Detection. A Windows PC is what we recommend for this part of the setup because it gives you the easiest access to all of the camera settings.
Below we have the video that shows the process. The written steps are directly underneath it.
Read the video transcript
0:02 - Introduction
[Music]
0:04
in this video i'm going to show you how you can set up audio detection on an ip camera that has a built-in microphone or has an external microphone hookup this video i'm using a camera that has a built-in microphone and i'll show you how to enable the audio detection
0:19 - Logging into the camera
0:19
first i need to open up google chrome
0:21
this camera just so happens to be compatible with the google chrome web interface if you have an older camera you will need to use microsoft edge compatibility mode or just use internet explorer we have a separate video on how to use the microsoft edge compatibility mode
0:37
so i'm just going to use the ip address for my camera my camera is dot 1.106 you will need to use the ip address for your camera to access its settings i'm going to hit enter and then i'm going to use the factory default admin user and the default password that can be found on a label on my ip camera box i'm going to click the login button to finish logging in
0:58
and now this camera does have audio and i can listen to that audio
1:06
so there was the audio from the camera it's actually feeding back in through the speakers that's why it might be that loud kind of
1:12 - Setting up the SD card
1:12
noise and then to enable audio detection i need to first go to the setting tab
1:18
and then this camera has an sd card installed to it as well so the first thing i'm going to need to do is go to the storage tab go to destination and then go to local to ensure that my sd card is there and it is formatted you will also want to go to path and make sure that you have it set to local for the scheduled an alarm based recording and snapshots if you want to have audio detection record or snapshot then you will need to have these paths enabled as well so i did confirm again that my sd card was present and then i have it set to a local for recording and snapshots
1:55
the second thing i'll need to do is go under the storage tab here you see by default it's already set up the storage schedule to do alarm and motion based recording if i also wanted to do general or continuous recording i would of course need to enable that and then i could also set up a snapshot recording schedule as well
2:15 - Enabling audio
2:15
so to enable audio on our camera we first need to go to the camera tab and then the audio tab
2:22
here as you can see here i do have the mainstream enabled the swiss checked i went to encode mode and selected aac and a sampling frequency of sixteen hundred you wanna do this for both the main and substream if you expect to record both
2:37
down here at the bottom we can modify the microphone volume and that's going to also affect how well that your camera can hear when it's doing audio detection so i'm going to leave it at microphone volume 100
2:51
and then if you had an external microphone you could choose the line in or mic input for the audio in type again if it has a built-in microphone and external you can select mic or external microphone if the built-in microphone isn't doing what you need it to if the camera just has an external microphone it will just say line in here there is also a noise filter option again you're going to want to finely tune the noise filter if it works for you it's that's great if it doesn't do much for you then you can leave it disabled
3:20 - Audio detection settings
3:20
to actually enable audio detection i'm going to need to go to the event tab and then go to the audio detection tab
3:29
inside of audio detection there are two types of audio detection
3:33
input abnormal actually looks for the camera to say hey there's actually no more audio happening or the microphone was cut i can't detect any audio at all then you would want to enable the input abnormal or let's say someone damages the microphone and it's no longer sending an audio signal then you would want to enable the input abnormal function
3:54
however for plain jane audio detection whether it's a dog barking a loud noise from an intruder then you can of course set up the intensity change so i'm going to tick the intensity the intensity change option and click the save button
4:09
after doing that what it's going to do is show here the sensitivity and threshold so to try and explain what each of these settings does i'll go ahead and show you on this neat graphical user interface for this
4:24
so essentially the threshold is how much noise needs to occur in order for this motion detection or sorry threshold is the amount of audio that needs to occur for the audio detection to actually kick on and enable so for example when i increase this threshold it's actually going to move this bar up
4:42
so in fact that noise needs to be loud enough to actually first even trigger the audio detection and then sensitivity is going to be how sensitive the microphone is to this audio so if i lower the sensitivity down here or sorry increase the sensitivity then it will even further the noise will need to be even louder to break that threshold
5:08
so again you're going to want to finely tune these settings for the noises that you're trying to capture whether it's conversations an intruder or dog's barking if you really want to capture everything then you'll of course want to lower your threshold and lower your sensitivity i'm going to leave them to the default settings at this point because i do not have time to finely tune them but that's something you want to do and i'm also right next to the camera talking so it's it's just constantly detecting my voice because i'm sitting here at the camera
5:37
so i'm going to click save and here's where you can choose it to record snapshot or even send you an email if you also have push notifications set up on your smartphone there is an option to subscribe to the push alerts for audio detection events so you could do that as well on your smartphone
5:54 - Testing audio detection
5:54
so now that i've enabled audio detection
5:56
on here i should be able to go back to the play screen and see myself talking on that timeline so that's what i'm going to go ahead and do so for any of these events that you have recorded you can of course play them back as long as you have an sd card stored into your thing you went to the storage tab set up a recording schedule ensure that the sd card is there and it's formatted then you can do playback
6:16
so i'm going to go ahead and do playback right from this screen so we can go to the playback tab i can select today's date and then i can select the alarm type down here or i can click this file list icon and see that i do have a file listed here and then i could double click to play that file
6:35
so here you can see that you can see my video playing in the background i went ahead and muted it so we weren't listening to me making the video but it is the playback from the beginning after i enabled the audio detection feature on my camera and as you can see it's able to detect that audio and then it's just recording strictly based on that audio detection i do not have video detection enabled as you'll see here motion detection is not enabled it's simply going off of the audio detection
7:01
so what i'm going to do is i'm going to go ahead and stay silent for about 30 seconds and then i'm going to play a clip of some dogs barking so you can get a better idea of what audio detection is intended to do so i'm going to go ahead and do that
7:19
[Laughter]
7:24
so as you can see in the threshold and sensitivity setting window here we can see where the dogs were barking and that's what actually triggered the audio detection to happen so again let's go back to our playback tab and see if it created a separate event or separate recording for those dogs barking
7:40
so here i am back on the playback screen and we can see at 1620 or 420 there was actually another event occurring let's see what that event occurred
7:56
for oh
8:09
[Applause]
8:12
uh
8:29 - Final thoughts
8:29
so as you may be able to tell this is a very very useful feature again if you're looking to capture dogs barking the intruder would have to make a really loud noise to get to your home or property or again if you're just looking to capture conversations from your employees or children coming to vandalize your home and of course they're going to laugh and holler so hopefully this video helps you understand how you can set up audio detection and some of the things that audio detection is useful for thank you
8:57
for watching
- Access the web interface of the security camera. Follow our Standalone Security Camera Guide if you are unsure how to access an IP camera on your computer network.
- Go to the camera's Storage settings and make sure the microSD card is installed, recognized, and formatted.
- Make sure Local storage is selected for alarm or event recordings that you want saved to the microSD card.
- Check the recording schedule and make sure the camera is allowed to record alarm events during the hours you want Audio Detection working.
- Go to the Camera > Audio settings and make sure audio is enabled.
- If the camera gives you a choice of audio input, select Mic for the built-in microphone. Line In is used for cameras that support an external microphone connection.
- Adjust the microphone volume as needed. You can also test the noise filter if the camera model provides one.
- Go to Event > Audio Detection.
- Enable Intensity Change.
- Adjust the Threshold and Sensitivity while watching the audio activity graph.
- Enable recording as an action for the Audio Detection event.
- Test the setup by creating the type of noise you want to record, then go to Playback and make sure the camera saved the event.
Fine tuning Threshold and Sensitivity
This is usually the part that takes the most trial and error. There are no perfect settings for Audio Detection because every property sounds different.
A camera in a quiet backyard may only hear occasional birds, wind, and a dog barking. A camera beside a busy street may constantly hear cars, trucks, people talking, and other background noise. The settings that work well at one house may be useless at another.
Threshold controls how much audio activity is needed before the camera considers the sound important enough to start an Audio Detection event. Sensitivity gives you another way to fine tune how the camera responds to those changes.
The graphical representation in the camera's web interface makes this much easier. Watch the graph while normal background sounds are happening. Then create or wait for a sound similar to the one you want to capture. Adjust the settings until the normal background noise stays below your trigger point while the louder disturbance causes an event.
You may have to come back and adjust the settings after the camera has been outside for a few days. Wind, traffic, landscaping equipment, and other normal sounds around a property can be different depending on the time of day.
For more information on these settings, see our Audio Detection settings guide.
Setting a schedule for barking or noise events
The Period setting tells the camera when Audio Detection should be active. This is useful if the problem usually happens during a particular part of the day.
For example, if the dog only becomes a problem at night, you can set Audio Detection to run during nighttime hours. If the issue is happening while you are away during the day, set the schedule for those hours instead.
You can also leave Audio Detection active for the entire day if you need to monitor the area all the time.
The Record option tells the camera to save video when the event occurs. To store those recordings locally, the microSD card must be installed and selected as a recording destination.
Recording to the microSD card
For one camera, recording directly to a microSD card is usually the easiest place to start. The Barking Dog and Noisy Neighbor Camera Kit includes a 256GB card that installs inside the camera.
That means the camera can record video and audio locally without an NVR and without a required cloud recording subscription.
How long the card holds recordings depends on the resolution, frame rate, bitrate, compression settings, recording schedule, and how often Audio Detection events occur. Event recording generally gives you more useful storage time than recording every second of the day when your main goal is to document occasional noise problems.
You can review recordings from the camera's web interface. Once you find the event you need, it can be played back and exported.
When would you add an NVR?
An NVR is optional for this application. You do not need to buy one just to record a barking dog or noisy neighbor with one camera.
However, an NVR makes sense if you decide you need longer storage time, want several cameras around the property, or prefer to manage and play back all of your cameras from one recorder.
The nice part about starting with the standalone camera is that you are not painting yourself into a corner. The same camera can later be connected to a compatible NVR and become part of a larger security camera system.
If the 256GB microSD card gives you enough recording history for the problem you are trying to document, there is no reason to add an NVR just for the sake of having one.
This setup is not limited to barking dogs
Although barking dogs are one of the most common reasons customers ask us about Audio Detection, the camera does not care what is making the noise.
This applies to any situation involving a noisy neighbor too - music played too loudly, someone yelling, a car making excessive noise, honking horns, construction, machinery, or any other recurring sound near your home, rental property, or business.

Once you have the camera installed, you can also continue using it as a normal security camera. It is not a single-purpose barking dog recorder. The camera can still be used for motion detection, Smart Motion Detection, Tripwire, Intrusion Detection, night vision, remote viewing, and everyday surveillance around the property.
Do you need internet for this to work?
No. Internet service is not required for the camera to record video and audio to its microSD card.
The camera does need to be connected to your local network if you want to access its web interface from a computer. An internet connection is needed if you want to view the camera remotely while you are away from the property.
Once Audio Detection is set up on your camera, you don't need to keep a PC running - it will continue listening for Audio Detection events and recording them to the microSD card on its own.
Start with one camera and keep it simple
If your goal is just to capture one barking dog along your property line or somewhere around your home, there's no need to overcomplicate things.
The Barking Dog and Noisy Neighbor Camera Kit gives you the camera, 256GB microSD card, PoE injector, and network cables needed to get started with one camera. It's a high-quality security camera, but the setup is simple enough for homeowners and DIY users to install and use on their own.
Once you need to store more footage or add more cameras, you can add an NVR. Until then, let the camera do what it's designed to do and record to its microSD card.