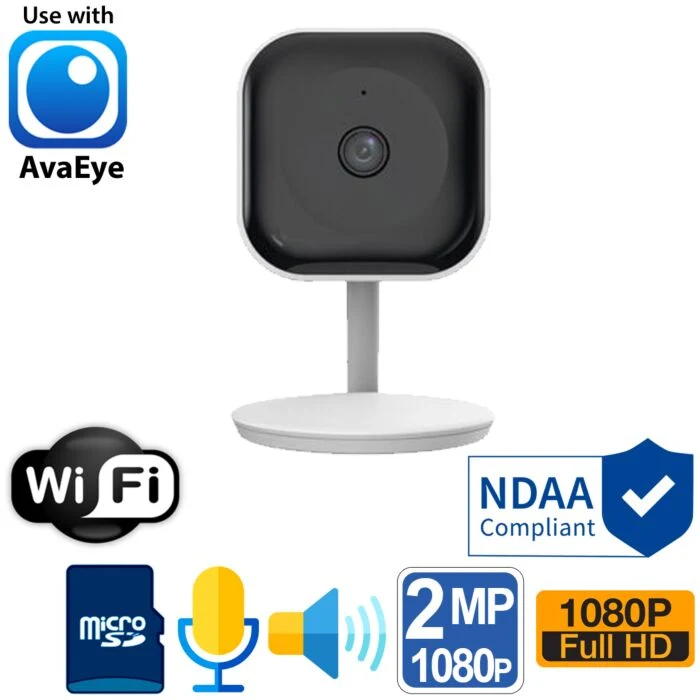
0:00 In this video we will show how to connect this AvaEye WiFi cube camera, available from CCTV Camera World, to your WiFi router so you can view it from anywhere using the EZView app. We start with what comes in the box and then walk through the setup step by step.
0:20 Inside the box you get the camera itself, a USB cable that plugs into the bottom of the camera, a 5V DC power adapter that connects to the USB cable, and screws to mount the camera. On the bottom of the camera there is an Ethernet jack, a reset button, and the micro USB power connection.
0:40 The first step in connecting this camera is to download the EZView app and install it on your phone. The process is the same on iPhone and Android. Go to your app store, search for EZView from UNV, and make sure you select the EZView UNV app rather than any sponsored result or ad.
1:20 After downloading the app, open it and swipe through the intro screens until you see the Get Started button. Agree to the privacy agreement and close any pop ups. If you do not already have an account, tap Sign Up and choose your region, such as United States.
1:50 Enter your email address, then tap Send Code. If the app asks you to agree to the terms again, check the box and tap Send Code once more. You may be asked to complete a simple verification, then the app sends a verification code to your email inbox.
2:30 Check your email for the code from the cloud service, then return to the app and enter the code before it expires. Tap Next and you will be prompted to create a password for your EZView account. This password is only for logging in to the app, it does not set the password on the camera itself.
3:10 Once you finish creating the account, you will arrive at the live view screen where devices will appear later. Before adding the camera, confirm that your phone is connected to the same 2.4 GHz WiFi network that you want the camera to use. The camera cannot connect to a 5 GHz only network.
3:40 Now it is time to power the camera. Plug the shorter end of the USB cable into the micro USB port on the bottom of the camera, making sure the connector is oriented correctly. Then plug the other end into the 5V DC power adapter and connect the adapter to a powered outlet or power strip.
4:10 When power is applied, a red LED will turn on to indicate that the camera is booting. After a short boot sequence, the camera will announce that it is ready to pair and the blue LED will start blinking. While it is pairing, flip the camera over and locate the QR registration code on the bottom label.
4:50 The QR code on the bottom of the camera is what you will scan into the EZView app to register it as a cloud device. You will also hear vocal prompts such as welcome, wait for network connection, and please add and configure the device on the mobile client, which confirm it is ready for setup.
5:20 On your phone, you can do a quick site survey to confirm that you are on a 2.4 GHz WiFi connection and not on a 5G network. The camera is incapable of connecting to 5 GHz WiFi, so the phone must be joined to the 2.4 GHz SSID during pairing.
5:50 In the EZView app, tap the menu icon with three lines, then go to Devices and tap Add a device. Choose the option to add a WiFi device and wait until the camera announces that it is waiting for network connection so you know it is in pairing mode.
6:30 When prompted, tap that the camera is waiting to be connected and choose Add as a cloud device, not as a local device. Adding it as a cloud device is what allows you to watch the camera from outside your home or office network over the internet.
7:00 The app will ask for permission to use your location, which you should allow while using the app. Then enter a device name for the camera, such as Nanny Cam or Office Camera. You will see a warning that 5G WiFi is not supported, which is a reminder that the camera must use 2.4 GHz WiFi.
7:30 Next, type in your WiFi password so the EZView app can securely pass it to the camera. After entering the password, tap the scan icon to scan the registration QR code on the bottom of the camera. Allow camera access for the app, then point your phone at the QR code until it registers.
8:10 After scanning the code, tap to connect automatically. Your phone may ask if it is allowed to join a temporary network during setup, so tap Join. The blue LED on the camera will blink while it is connecting. At the bottom of the app you should see messages that the device was added successfully and that the network is connected and the device is being added to the cloud.
8:50 The camera will confirm with voice prompts that it has been added to the cloud, and the blue LED will become solid when the WiFi connection is established. The app will then prompt you to set the correct time zone and daylight savings time settings for your region before you finish.
9:20 When everything is complete, the camera should appear in your Devices list in the app with an Online status. If it appears offline even though the blue LED is solid and the voice prompts confirmed connection, close the app and reopen it, then return to the Devices screen to refresh the status.
9:50 Tap on the device entry to start a live view and you should see real time video from the camera. Double tap the video tile to expand it to full screen. You will notice that the video is travelling from the camera, through the internet, and back to your phone for remote viewing.
10:20 To use two way audio, tap the two way audio icon and allow microphone access when prompted. Speak into your phone and you will hear your voice from the camera speaker. If the phone is too close to the camera you may hear audio feedback, so step back a little during testing.
10:50 If you are unable to follow these instructions successfully or you need to start over, you can reset the camera using the reset button on the bottom. With the camera powered on, press and hold the reset button for about ten seconds using a small non-metallic object like a pencil, then release and wait for the red LED to go solid as it reboots.
11:15 When the camera resets, it will return to pairing mode with a blinking blue LED and you can repeat the setup steps. There is also a microSD card slot on the side of the camera. Insert a microSD card in the correct orientation to enable in-camera recording, which you can access later through the EZView app. This concludes the setup walkthrough for the AvaEye WiFi nanny camera.