
Remote Viewing Security Camera Software for PC and Mac - View, Playback, Export

The AvaEye camera monitoring software is available for download from this page and works with compatible AvaEye IP cameras and recorders. If you need security camera software for a Windows PC or Mac to watch live video, review recorded footage, control PTZ cameras, and export clips, this guide walks through the core tasks step by step.
This page is designed for AvaEye users who want to install the software, connect their recorder or camera, view live feeds, search playback, and save video files to a computer. The AvaEye software uses the same general interface and workflow on both Windows and Mac, which makes it easy to move between platforms. Each section below includes a hands-on tutorial video along with written notes so you can quickly find the step you need.
In this guide, we cover software installation, device setup, live viewing, PTZ control, playback, and exporting footage. If you already own a compatible AvaEye recorder or camera, this is the fastest place to learn how to use the software effectively.
Quick Start Summary
Use this guide to install the AvaEye camera monitoring software, connect your NVR recorder or camera, watch live video, review recorded footage, control PTZ cameras, and export clips to your computer.
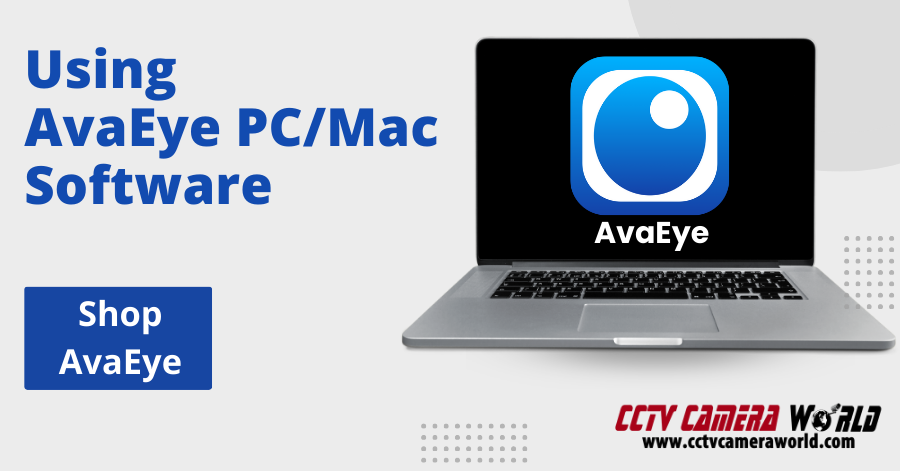
Table of Contents
- What AvaEye Software Lets You Do
- Compatibility and Requirements
- Download the Correct Version for your Computer
- How to Install AvaEye on Windows and Mac
- How to Add a Device to the AvaEye Software
- How to View Cameras
- How to Control PTZ Cameras
- How to Playback Recorded Video
- How to Download or Export Video
- Tested by CCTV Camera World
- Frequently Asked Questions
- Related Help and Product Links
What AvaEye Software Lets You Do
AvaEye is desktop camera monitoring software for compatible AvaEye security cameras and recorders. Once installed on a Windows PC or Mac, it lets you connect to your system over the network and handle the most common daily tasks without standing in front of the recorder.
- Watch live video from one camera or multiple cameras at once
- Add an NVR, DVR, or standalone IP camera to the software
- Control PTZ cameras and supported motorized zoom cameras
- Search recorded video by date and time
- Play back multiple cameras in sync for the same event
- Export clips or download recorded video to your computer
This guide is useful if you are trying to install AvaEye for the first time, connect your recorder to a computer, review footage after an incident, or learn the software features before you need them in a real situation.
Compatibility and Requirements
This software page is intended for AvaEye recorders and IP cameras. The software supports common viewing and management tasks such as live view, playback, export, PTZ control, custom views, and multi-camera monitoring on both Windows and Mac systems.
- Compatible with supported AvaEye NVRs, DVRs, and IP cameras
- Windows and Mac software downloads are linked below
- Your recorder or camera must already be powered on and connected to the network or the internet
- Live view and playback performance depends on your computer hardware, network speed, and number of cameras being viewed
Download the Correct Version for your Computer
Minimum PC Requirements (subject to change without notice):
OS: Windows 7, Windows 8, Windows 10
CPU: Intel i5 Quad Core 1.8GHz or higher
Graphics Card: Independent GPU that supports DirectX 8.0c or higher
Memory: 4GB or higher
Resolution: 1280x1024 or higher
Hard Drive: 512GB or more
Click here for Intel or Arm Mac
Minimum Mac Requirements:
CPU: Intel or Arm 8 core or higher
Memory: 8GB RAM
HDD: 256GB or more
Rosetta Required on Arm Mac
How to Install AvaEye on Windows and Mac
The first step is downloading the software to your Windows PC or Mac using the links above and installing it to your computer. You will need to unzip the software from the downloaded archive before you are able to install it. The tutorial below shows how to extract the ZIP file, run the installer, handle the Microsoft prerequisite if prompted, and open the software for first login. While this walkthrough is shown on Windows, the AvaEye software uses the same general interface and workflow on Mac.

Quick notes from the tutorial:
- Extract the ZIP file before trying to run the installer
- If the installer seems hidden, check the Windows taskbar
- A Microsoft prerequisite may install during setup
- After installation, the software opens to the login screen and then the add device workflow
▾ Read transcript notes for installing AvaEye on Windows
The walkthrough demonstrates downloading the AvaEye software archive, right-clicking the ZIP file, and using Extract All before opening the extracted folder. It then shows running the installer, keeping the default installation path in Program Files, and allowing the Microsoft prerequisite to install if required. After installation, the software opens to a login screen where the first-time setup continues into the add device screen.
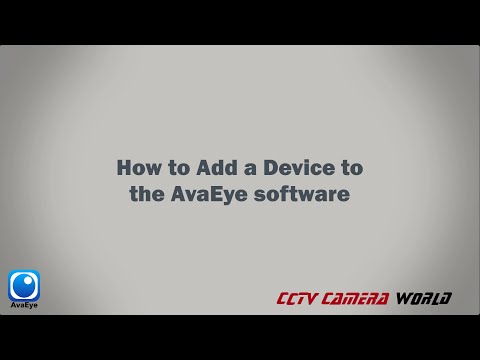
How to Add a Device to the AvaEye Software
After installing the software, you will need to add your NVR, DVR, or camera to the software. The video below shows the two main ways to add a recorder or standalone IP camera to AvaEye Camera Monitoring Software:
- Automatic search for compatible devices on the local network from the Device Management page
- Manual device entry using the local IP address for local viewing, or public IP address if appropriate for your setup
Quick notes from the tutorial:
- Device Management is where you add, edit, or remove connected recorders and cameras
- Automatic search is the easiest method when the recorder is visible on the same local network
- Manual adding requires the device IP address, username, and password
- If the device shows offline or invalid credentials, verify the login information and network accessibility
▾ Read transcript notes for adding a device
The tutorial opens the control panel, then goes into Device Management to demonstrate both automatic and manual adding. The automatic method uses Online Devices to discover compatible recorders on the local network, while the manual method requires typing the device IP address and login credentials. It also shows how to edit a device entry if the system reports an offline state or incorrect username and password.
How to View Cameras
Watching your cameras in real time is one of the most useful parts of the software. After clicking Live View from the main menu, the software opens a live monitoring tab where you can drag cameras into a grid, switch layouts, save favorite views, and even open multiple live view windows.
The number of cameras you can watch smoothly at the same time depends on your computer, your network, and the bit rate of the recorder. The tutorial below demonstrates how to use the software to view cameras in real time, change the live grid layout, switch stream types, and manage multiple windows.

Quick notes from the tutorial:
- You can drag and drop cameras into the grid or double-click them into a selected pane
- Layout options range from 1 camera to larger multi-camera grids
- You can save favorite views and reopen them later
- Substream and mainstream options help balance image quality and performance
- Multiple live view tabs can be split into separate windows on the desktop
▾ Read transcript notes for live view
The live view tutorial shows how to open the Live View tab, expand the recorder, and bring cameras into the grid by double-clicking or dragging and dropping them. It also demonstrates digital zoom, switching layouts based on channel count, using substream versus mainstream, creating custom saved views, opening multiple live view windows, enabling audio, and toggling the VCA rule overlay without changing the underlying smart detection settings.
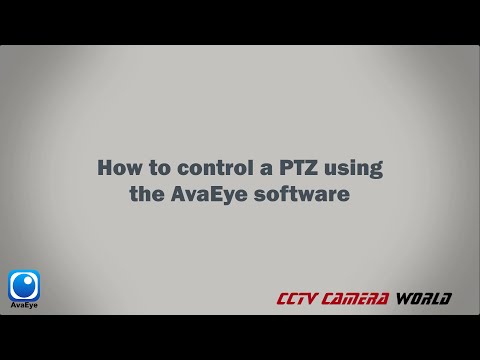
How to Control PTZ Cameras
If you have Pan-Tilt-Zoom Cameras or Motorized Zoom Cameras, you can control them while watching from the software. For users who want more precise camera control than a mouse, we also offer a PTZ keyboard controller for AvaEye and ONVIF cameras that works with compatible recorders and third-party ONVIF PTZ cameras. The tutorial below shows how to use mouse-based directional control in full-screen mode and how to open the PTZ control window for finer adjustment.
Quick notes from the tutorial:
- In full-screen live view, moving the mouse toward the screen edges gives directional pan and tilt control
- The mouse scroll wheel controls zoom in and zoom out
- The PTZ control menu provides a dedicated on-screen directional pad
- 3D targeting can reposition and zoom the camera toward a selected area
- Focus control is available on supported PTZ or motorized zoom cameras
▾ Read transcript notes for PTZ control
The PTZ tutorial begins in live view, where the PTZ camera is brought into the grid and then expanded to full screen. It shows mouse-based pan and tilt control, zoom using the scroll wheel, and a separate PTZ control panel with directional controls and 3D targeting. The tutorial also notes that focus adjustment is available for supported PTZ and motorized zoom camera models.
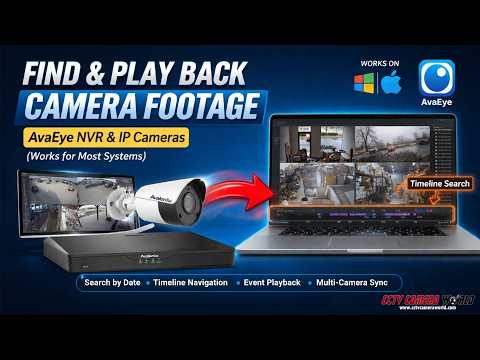
How to Playback Recorded Video
Looking at recorded video is one of the main reasons to use a security camera system in the first place. Having quick and easy access to video from your cameras or system using AvaEye means you do not have to sit in front of the recorder for every review. The tutorial below shows how to search by date, interpret the playback timeline, jump to events, and synchronize multiple camera views.
This video also explains what the different colors on the recording timeline mean. Knowing the difference between normal recording, event recording, and VCA recording makes it much easier to find the footage you actually need.
| Recording Type | Recording Color |
|---|---|
| Normal | Blue |
| Event | Red |
| VCA | Purple |
Quick notes from the tutorial:
- Select a camera channel, choose the date, and click search to load recorded footage
- Blue indicates normal recording, red indicates event recording, and purple indicates VCA recording
- Black gaps on the timeline mean no recording at that time
- The event list on the right side is useful if you prefer clicking time-stamped recording entries
- Multi-camera synchronized playback works best when all selected cameras have recording for the chosen time
▾ Read transcript notes for playback
The playback tutorial opens the Playback tab, expands the recorder, and loads recorded video by selecting a channel and searching a date from the calendar. It explains the timeline colors for normal, event, and VCA recording, and shows how black areas represent times with no recording. The video then demonstrates playing back a VCA-triggered camera, using the event list on the right side, selecting multiple channels for synchronized playback, and adjusting playback speed, pause, stop, rewind, and reverse playback while noting that these features are more demanding on the computer and network.
How to Download or Export Video
The AvaEye software is useful if you have found an event around your home or business that you need to save to your computer. You can use it to download video for police, insurance, internal review, or your own records without plugging a USB drive directly into the recorder. The software lets your computer handle the download while the recorder supplies the recorded data over the network.
The tutorial below focuses on exporting video from multiple channels at once by using the Recording Download utility inside the Playback tab. It also shows how to manage completed downloads and open the saved files from Windows Explorer.
Quick notes from the tutorial:
- The Recording Download utility is the better method when you need footage from multiple cameras at the same time
- Select the channels first, then set the start and end date and time
- The By File tab shows what the recorder found and the recording type for each clip
- Task Management shows current downloads, queued files, and completed exports
- Completed clips can be opened directly or located in Windows Explorer for editing or sharing
▾ Read transcript notes for exporting video
The export tutorial opens Playback and then uses the Recording Download tool to pull footage from multiple channels during the same time period. It shows how to choose the cameras, set the calendar range, narrow the search to a smaller time window, and review the files found under the By File tab. It then demonstrates selecting clips, starting the download tasks, monitoring progress in Task Management, and opening the completed files in the saved folder for playback, editing, or conversion.
Tested by CCTV Camera World
This guide is based on hands-on use of AvaEye software with compatible recorders and cameras. The tutorial set on this page demonstrates real software workflows, not just menu descriptions. In the videos above, we walk through software installation, first login, device adding, live view layouts, PTZ control, recorded playback, synchronized multi-camera review, and exporting footage to a computer.
During testing and walkthrough recording, we also demonstrated practical behaviors that matter in real use:
- How automatic device discovery behaves on a local network
- What happens when a recorder shows offline or invalid credentials
- How timeline colors reflect different recording modes
- How synchronized playback depends on having overlapping recordings on multiple channels
- How live view and playback performance change based on PC power, network speed, and camera count
- How exported files are queued, downloaded, and opened from the local computer
Because desktop viewing performance depends on the computer, network, and recorder configuration, your exact experience may vary. If a feature behaves differently on a specific system, the first things to verify are firmware compatibility, network setup, recording configuration, and the number of cameras being viewed at once.
Frequently Asked Questions
AvaEye software lets you connect to compatible AvaEye NVRs, DVRs, and IP cameras from a computer so you can watch live video, review recorded footage, control PTZ cameras, save custom views, and export video clips to your computer.
Yes. AvaEye software is available for both Windows and Mac. The general interface and workflow are the same on both platforms, which makes it easy to install the software on either type of computer and use the same viewing, playback, PTZ, and export features.
You can add a device in Device Management either by using the automatic network search or by manually entering the device IP address, username, and password. If the recorder is on the same local network, the automatic method is usually the fastest.
If automatic search does not find the recorder, add it manually using the device IP address. You should also verify that the recorder is powered on, connected to the same network, and that you are using the correct login credentials.
Open the Playback tab, expand the recorder, select the camera channel, choose the date from the calendar, and click Search. The software will load the available recordings for that day on the timeline.
On the timeline shown in this guide, blue represents normal recording, red represents event recording, and purple represents VCA recording. Black areas indicate there was no recording at that time.
Yes. AvaEye supports synchronized multi-camera playback, but the selected channels need to have recording available for the same time period. If one camera does not have matching video for that moment, synchronization may start from the earliest shared recording point instead.
Use the Recording Download utility inside the Playback tab. Select the camera channels, choose the date and time range, search for available recordings, then select the clips and start the download task.
Yes. AvaEye supports PTZ control in live view. You can use mouse-based movement in full-screen mode or open the PTZ control menu for directional control, zoom, focus, and 3D targeting on supported cameras. For users who want a hardware control option, the guide also links to a PTZ keyboard controller that works with AvaEye and compatible ONVIF cameras.
AvaEye is used for direct connection to compatible recorders and cameras, and the system stores recordings locally on the recorder. That means you can view and play back footage without relying on a monthly cloud recording plan.
Exported files are saved to the location configured in the software settings. After a download completes, you can use the task management window to open the file directly or open the folder where it was saved.
Performance depends on your computer hardware, network speed, the recorder bit rate, and how many cameras you are trying to display or play back at the same time. Reducing the number of visible channels or using lower stream options can help improve responsiveness.