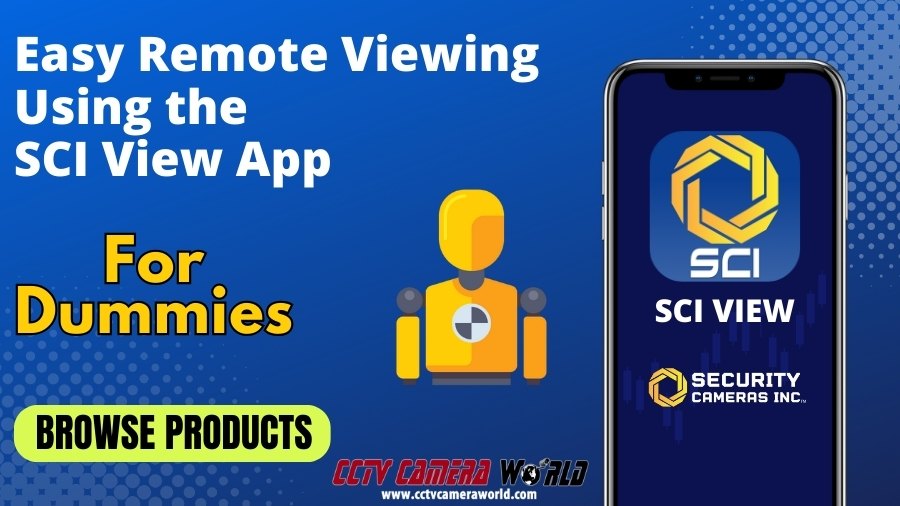
Easy Remote Viewing Security Cameras Inc Systems
If tech isn't your strong suit but you're eager to monitor your Security Cameras Inc system from your phone, this guide has got you covered! After you've connected your cameras to your recorder and can view them on a screen, simply follow these straightforward steps for free remote access. There's no need for extensive computer know-how or deep networking insights; this user-friendly guide is crafted in clear, easy-to-grasp steps for everyone!
Overview
- Before You Get Started
- Step 1) Connect the Recorder to the Main Internet Router or Modem
- Step 2) Prepare Your Security Cameras Inc Recorder For Remote Viewing
- Step 3) Download and Install the SCI View App
- Step 4) Link the Recorder to your Smartphone
- Viewing Live Video
- Playback Recorded Footage
Before You Start
Before diving into this guide, please confirm the following:
- You are on-site with the recorder.
- A TV or computer monitor of at least 1080P resolution is connected to the Security Cameras Inc recorder via the VGA or HDMI port.
- The camera feeds are displayed in a grid on the screen.
- The recorder is directly connected to the internet using a broadband connection from the main modem or router in your network.
Note: Wireless mesh or network extenders such as Orbi, Google WiFi, or EERO may interfere with the setup process. The recorder in your Security Cameras Inc camera system must be connected directly with a hard-wired cable to the main router or modem in your computer network.
The user is responsible for following this guide completely and thoroughly. Any attempts to skip the steps outlined below will only result in the connection process failing. We advise customers to rewatch the videos and make sure they are not missing a step.
Make sure you are using a known-good networking cable and that your network firewall or ISP is not blocking the recorder from connecting to the P2P server. If, for some reason, the recorder is unable to connect to the P2P services, that means you have misconfigured network settings or your network environment is blocking the recorder. You would then need paid networking services as per our terms and conditions.
Networking services are affordable and can be purchased here.
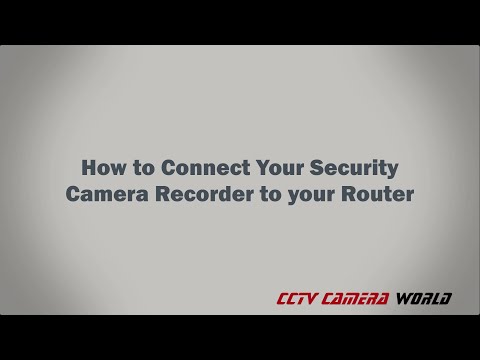
Step 1) Connect the Recorder to the Main Internet Router or Modem
Typically, your internet service provider (ISP) supplies a modem with an integrated router. A group of four ports with similar colors—often yellow—can help you identify if your modem has a built-in router. Connect an Ethernet cable from one of the yellow ports to the back of your Security Cameras Inc NVR or DVR recorder. This connection sets your recorder up with internet access, allowing for viewing cameras both locally and while away.
Ensuring a stable and direct internet connection to the system is mission-critical. If there are corporate firewalls or additional network security devices between the internet connection and the recorder, it might be necessary to whitelist the recorder to guarantee uninterrupted internet access.
Step 2) Prepare Your Security Cameras Inc Recorder For Remote Viewing
Although we pre-configure DHCP to help your recorder automatically receive an IP address from your router, it's still important to understand how to turn it on if the setting gets altered inadvertently. DHCP, or Dynamic Host Configuration Protocol, auto-assigns local IP addresses to devices on a router, eliminating the need for manual IP address settings.
We also activate the P2P setting on the NVR or DVR before shipping, which is necessary for the method outlined in this guide to work. Instructions on how to enable both of these features if they’re turned off by resetting settings or by mistake can be found in the video tutorial below.

Step 3) Download and Install the SCI View App
Once the P2P field displays "Network Connected," your security camera recorder is primed to link with a smartphone or PC. To download the Smartphone App, simply search the Apple App Store or Google Play Store for “SCI View” or tap on the images provided below if you’re on your smartphone.

Step 4) Link the Recorder to your Smartphone
After installing the app on your phone, add the system to the app by scanning the QR code found either on the recorder or within the “Port Configuration” Network Settings page, as shown in Step 2.

Viewing Live Video
For those looking to monitor their security cameras remotely, the smartphone app offers real-time insights into activities occurring both inside and outside their premises. With a reliable data connection, users can access the live feed from their camera systems anytime, anywhere.
The app comes with several notable features, such as:
- Options to view in Landscape or Portrait mode
- Multi-channel display options for 4, 6, 8, 9, or 16 channels in Live View mode
- Capability to enlarge a particular camera view to full screen
- Control functionalities for PTZ or Motorized Zoom Cameras
- Activating and listening features for audio-enabled security cameras
- Save images or video clips directly to your phone for future reference or sharing
- Image setting adjustments
For a better understanding and hands-on demonstration of these features, check out our tutorial video. below

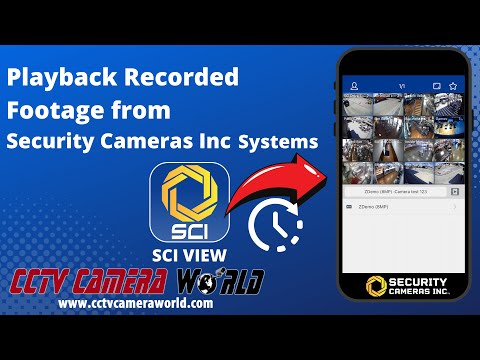
Playback Recorded Footage
Utilizing the SCI View app for your security system not only allows you to watch live feeds but also enables you to review recorded events and scan the saved timeline for incidents around your property or business.
While the app's playback functionality mirrors many of the live view features, keep in mind that the PTZ camera movement and motorized zoom capabilities are only available during live viewing. Zoom and movement functions are not accessible while viewing recorded footage.
For a comprehensive guide on accessing and navigating through recorded videos on your Security Cameras Inc recorder, refer to the tutorial video provided below.