

How to Live Stream a PTZ Camera
With the rapid evolution of affordable technology and the burgeoning online landscape, live streaming has become increasingly accessible and sought-after. The pioneer of the past decade in this live streaming revolution is Twitch.tv, which Amazon acquired in 2014.
We're excited to introduce our customers to a significant advancement: the ability to stream directly to Twitch using the Live Stream Cameras we offer here at CCTV Camera World. And by 'directly,' we mean these cameras can stream independently without the need for a computer to transcode video. This how-to article guides you through the process of connecting one of the outdoor PTZ cameras by Avalonix to Twitch, simplifying your stream setup experience.
Our customers have creatively used our live stream cameras for a variety of purposes, including broadcasting intramural and amateur sports events, showcasing serene beachfronts, and capturing wildlife. No matter your streaming goals, the livestream cameras we carry at CCTV Camera World simplify the process of bringing your unique view to the web. You can even embed the stream on your website without paying any ongoing fees by using our cameras with Twitch's free streaming service.
Whether you choose to watch our video or read this article, you'll gain a comprehensive understanding of how to set up the camera, establish a connection to Twitch, and start a livestream. By watching the overview video below, let's start by getting a basic understanding of what the process is and how simple it is to complete.

As of 2025, Twitch requires viewers to be logged in to a Twitch account to watch streams above 1080p resolution (e.g., 1440p or 4K), whether on the Twitch website or in embedded players. Streams at 1080p or lower remain publicly viewable without login. If you plan to embed your stream on a website or expect a high volume of public viewers, consider setting your camera's encoding settings to 1080p to maximize accessibility.
Table of Contents
- Requirements
- Step 1. Initial PTZ Camera Setup
- Step 2. Accessing the Camera from your Computer
- Step 3. Preparing Your Twitch Stream
- Step 4. Preparing the Twitch Stream URL Key
- Step 5. Streaming the PTZ Camera to Twitch
- Embed Your PTZ Stream on a Website
Requirements
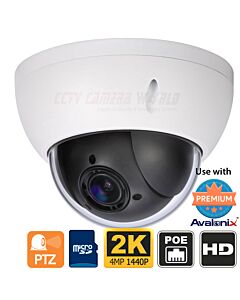
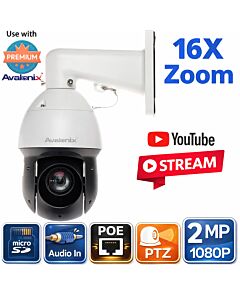
- Live Streaming PTZ Camera - Essential for streaming on Twitch. For a simple starting point, our 1080p PTZ Live Streaming IP Camera with 16x Zoom is a good fit for users who want a camera that can stream directly to Twitch without using a computer, capture card, or separate video encoder. You can also browse our full selection of live streaming cameras below.
-
-
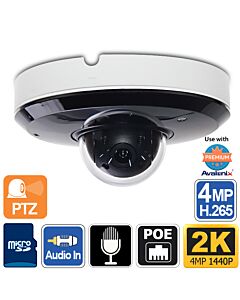 2K 4MP Mini PTZ PoE Camera with Night Vision and Built-in MicrophoneSKU: IPSDIR3X4M$389.99 $479.99 19% off
 -
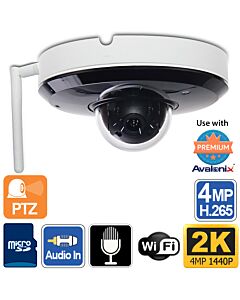 WiFi Mini PTZ Camera with Night Vision and Built-in MicrophoneSKU: IPD3X4MWIFI$399.99 $499.99 20% off
 -
-
 4K PTZ Camera with Auto Tracking, 25X Zoom, Smart AI Detection, Active DeterrenceSKU: IRPTZ4KAD$999.99 $1,299.99 23% off
 - PoE injector or switch - This device powers your camera and connects it to your network.
- Ethernet Network cables - Two cables are required - one connecting the camera to the PoE injector or switch, and the other linking the injector/switch to your router.
- Windows computer - The setup process can be completed on a Mac as long as you already know the IP address of the camera on your network, but Windows offers better software compatibility with our IP address finder tool.
- Optional junction box - For enhanced protection of your connections and wiring, consider purchasing a junction box with the camera.
- High-speed internet - A minimum upload speed of 5 Mbps is necessary for a 1080P stream, though 10 Mbps or higher is recommended for optimal streaming quality. We recommend having a fiber internet connection for the most reliable streaming experience, especially if you plan on streaming 4K video.
- Twitch account - You'll need an active Twitch account. Need help setting one up? Click here for a guide.
Step 1. Initial PTZ Camera Setup
Before diving into setting up your live stream PTZ camera, it's crucial to understand your camera's functionality and ensure it's properly powered and connected. We advise doing a “bench test"—a preliminary setup in a controlled environment like your home or office—to get comfortable with the camera and its features before final installation.
Note: Included with the camera purchase from CCTV Camera World is a green pamphlet containing important guidelines, including essential 'do’s and don'ts.' Please take the time to read through this information thoroughly before beginning.
If you prefer to watch a video guide check out our comprehensive tutorial video below.

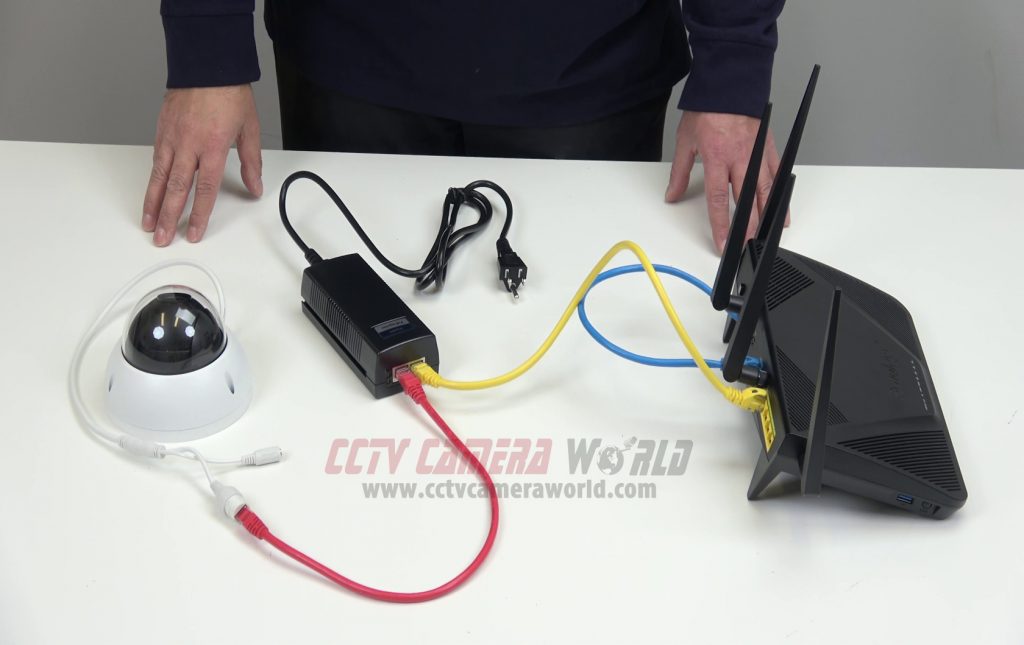
The camera is a type of PoE camera that can obtain power and data using PoE technology to simplify the cabling process. In this section, you’ll need the camera, a PoE injector or PoE switch, and two Ethernet cables. Here’s how to proceed:
- Unbox the camera, PoE injector/switch, and Ethernet cables.
- Plug the PoE injector or switch into a power outlet.
- Use one of the Ethernet cables to connect the camera to the port on the injector marked “Power/Data” or “P/D.”
- Take the second Ethernet cable and connect one end to the other port on the injector, labeled “Data,” and the other end to your router or modem.
Now your camera should be powered and connected to your network, as shown in the picture below.
Step 2. Accessing the Camera from your Computer
As long as the camera is properly connected to the PoE power source and the PoE power source is in turn connected to your router or modem, the camera will power on, boot up, and connect to your local network. The next step is to use a web browser to log into the camera and access its settings.
Note: Our warehouse staff usually tests and pre-configures the cameras we ship if we're able to contact you and obtain an IP address to set the camera to. They may have labeled the camera’s box with the IP address and login details. It's important to keep this box safe and not misplace it. If you didn’t specify an IP address before shipment, your camera would be set to DHCP or the default IP 192.168.1.109, and you will find this information on the label.

- Open your preferred web browser on your Windows computer. (e.g. Google Chrome)
- Type the IP address indicated on the label found on the camera’s box into your browser’s address bar.
- Press Enter or click the browser’s “Go” button.
- Log into the camera using the username and password provided on the label.

Step 3. Preparing Your Twitch Stream
Great job getting past the tricky part! With access to your camera via a web browser, you're now ready to dive into your Twitch account and customize your stream, as well as create the RTMP URL that will be used to start your stream.

- Open your preferred web browser on your Windows computer. (e.g. Google Chrome)
- Type the IP address indicated on the label found on the camera’s box into your browser’s address bar.
- Press Enter or click the browser’s “Go” button.

- Within the Creator Dashboard, click the “Stream Manager” option in the left-hand menu.
- On the Stream Manager page, find and click the “Edit Stream Info” button under “Quick Actions,” which might be positioned at the right or bottom of the page. In the pop-up window, you can set your stream's title, “going live” notification, category, tags, and the language of the stream. Make sure to click “Done” after making your changes to ensure they are saved.
Step 4. Preparing the Twitch Stream URL Key
With your Twitch stream now customized to your preferences, the next crucial step in the Twitch Creator Dashboard is creating your Stream URL. The camera requires a video stream URL for the Twitch streaming service to be configured in the camera settings. That way, the camera can stream live video to the Twitch video server, so your video can go live.

Here’s how to create your Twitch stream’s URL:
- In the Creator Dashboard, click on the “Settings” option located in the main left-hand menu. This will open a submenu where you need to select the “Stream” option.
- Your stream key is securely hidden within the Settings and Stream page. As a precaution, Twitch advises: “Never share your stream key with anyone or show it on stream! Twitch staff, admins, or global moderators will never ask you for this information." Acknowledge this warning by clicking “I Understand” to reveal your stream key.
- Copy the stream key by either clicking the Copy button or by highlighting it, right-clicking, and choosing Copy. For those familiar with keyboard shortcuts, CTRL+C and CTRL+V will do the trick. Paste this key into text editing software such as Notepad or Microsoft Word.

- The next step involves selecting the most suitable 'ingest' server for your video stream. Generally, the best choice is the server nearest to your location. For example, in our video, we use a server in Ashburn, Virginia. To find the best server for you, visit the following link and copy the top recommendation into your notepad: https://help.twitch.tv/s/twitch-ingest-recommendation
- Finally, to complete your stream URL, paste your stream key to the end of the stream ingest server to combine them into your stream key URL. Here’s an example of what a correct stream key URL looks like:
rtmp://iad05.contribute.live-video.net/app/live_661156169_GAlAQIGv4zRndJMON112324toAD5BIi
Step 5. Streaming the PTZ Camera to Twitch
You're almost at the finish line! The last few steps to launch your stream are within the camera’s settings. You'll want to navigate back to the camera's web interface. If you’ve previously closed the camera’s browser tab or window, reopen it and log back into the camera.

Embed Your PTZ Stream on a Website
Once your PTZ camera is streaming to Twitch, you don’t have to stop there. You can also embed the live feed directly into your own website so visitors can watch without leaving your page. This works well for sports, events, and whenever you want to keep viewers on your site. Check out our embedding tutorial here for the full walkthrough.
- To access the camera settings, click on the “Setting” button located at the top right corner of the page.
- From there, navigate to the left-hand menu to enter the Network submenu, and then click on the “Access Platform” option.
- In the Access Platform settings, select the “RTMP” tab.
- Click the “Enable” check box and select the “Custom” option next to “Address Type.”
- Copy the Stream URL you’ve prepared in your text editor and paste it into the “Custom Address” text box.
- To start streaming, click the ‘Save’ button and confirm the prompt that appears by clicking “OK.”
Provided your Stream URL is accurate without any typographical mistakes, your stream should start momentarily! You can manage your stream and interactions with your viewers on the Creator Dashboard and Stream Manager pages.
To end the stream, you can simply disconnect the camera from power or untick the Enable button in the RTMP page inside the camera's web interface.
If you're looking for a camera to follow this tutorial with, the PTZ Live Streaming Camera is one of the easiest product matches for this setup. It is designed for direct live streaming, PTZ control, and outdoor viewing applications where you want optical zoom without needing a separate computer-based streaming workflow.
We hope you find this guide useful. If you have any follow-up questions on how to use products purchased from CCTV Camera World, feel free to use the Contact Us button to drop us a note.