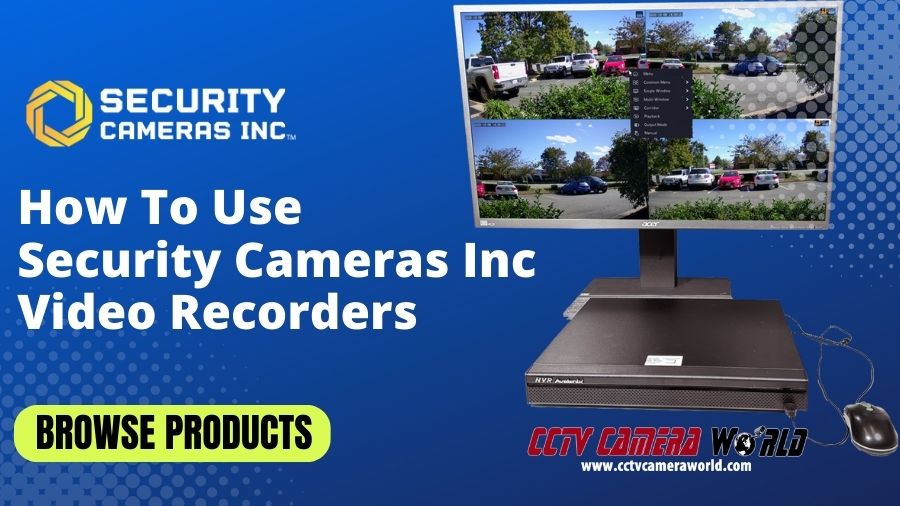
This guide was specifically made for customers using the NDAA-compliant Security Cameras Inc brand systems and NVR recorders sold by CCTV Camera World. Security Cameras Inc products represent professional-grade surveillance equipment that is ideal not only for residential use but also for businesses and government entities that need to adhere to NDAA standards. Pairing Security Cameras Inc PoE security cameras with a Security Cameras Inc NVR brings the advantage of seamless compatibility, facilitating plug-and-play installation and setup, intelligent event detection, and instant notifications. With the help of easy-to-understand video tutorials, this guide will help you get the most out of your Security Cameras Inc PoE camera system. To start your journey toward mastering your system, we recommend watching the videos below to ensure you get the most out of your setup.

Contents
- 1. How to Login
- 2. Viewing Live Security Camera Video
- 3. Customizing Recording Resolution and Encoding Settings
- 4. Tuning Camera Image Settings
- 5. Enabling Motion Detection and Changing Recording Methods
- 6. Recorded Video Playback
- 7. Downloading Recorded Video
1. How to Login
Before using the remote viewing app, PC software, or a web browser over a network, you should first log into the NVR using a mouse and an HDMI monitor. This will allow you to familiarize yourself with the system and test your cameras. Ensure that you use a computer monitor or TV compatible with minimum 720p and optimally 1080p support or better for this initial setup.
Sign in using the default backwards C visual password or the written admin password found on the label atop your recorder. For a detailed walkthrough of the login process, please refer to the video tutorial below.
2. Viewing Live Security Camera Video
These systems offer various methods to watch security cameras connected to the NVR. They allow for viewing multiple cameras simultaneously in a grid layout or focusing on a single camera in full-screen mode. If the cameras come equipped with an integrated microphone or an input for audio, the sound can be accessed in full-screen mode or by turning on the audio for a single channel within a multi-cam grid view.
It's crucial to understand the difference between digital zoom and motorized optical zoom when dealing with security cameras.
Below is a video that discusses the difference between Optical Zoom and Digital Zoom in case you are unfamiliar with the concept.
Digital zoom magnifies a section of the video to enhance detail slightly, but it quickly results in pixelation, especially in lower-resolution cameras. You can use Digital Zoom even on recorded footage.
On the other hand, optical zoom can only function in live view mode and determines the view that the camera will capture and record; you can't go back and look outside the field of view that has been captured. Cameras with motorized zoom lenses physically adjust the lens for live optical zooming, ensuring image clarity without pixelation. When optically zooming in, it does reduce the camera's field of view; vice versa, zooming out increases the angle of view.
For a recorder to send zoom commands, the camera itself must be equipped with a motorized zoom lens and be a compatible camera. However, all our cameras and systems offer some form of digital zoom.
Lastly, we have PTZ (Pan-Tilt-Zoom) cameras, which can be controlled directly from the camera system. These cameras are especially beneficial for security personnel or attentive homeowners. To understand how to operate PTZ cameras with the system, please view the video below!
3. Customizing Recording Resolution and Encoding Settings
The recording resolution and encoding settings on the recorder ultimately determine the video's clarity and quality. The Security Camera Inc series systems can capture images in resolutions ranging from 1080P up to 8 MP (4K). Generally, if users are happy with the video quality and how far back they can go in recorded video, there's no need to adjust these settings. Nonetheless, fine-tuning encoding settings can lead to more efficient video storage. Reducing the camera's resolution will substantially expand the amount of video that can be saved, as lower resolutions occupy less hard drive space. For a deeper understanding of encoding settings and resolutions, please watch the video. If you would like to estimate how much DVR hard drive storage you should get, we suggest using our Storage Calculator for surveillance systems.
4. Tuning Camera Image Settings
While the majority of cameras often perform just fine with their default image settings, certain views may require adjustments for the best visibility. IP cameras, compared to coaxial cameras, typically provide a broader range of image configuration options. Watch our video below to gain some insights into the image settings available with the Security Camera Inc systems.
5. Enabling Motion Detection and Changing Recording Methods
Out of the box, our systems are configured to capture video with motion detection every day of the week. However, most people want to track more specific AI-enabled or continuous around-the-clock action on their premises. For such individuals, we suggest configuring a motion detection recording timetable and activating motion detection on their cameras. A more sophisticated recording strategy involves continuous recording during daytime hours, perhaps while you're away at work, and then switching to motion-triggered recording at night, or the reverse. Dive deeper into recording techniques and the setup of the various recording options by viewing our instructional video below.
6. Recorded Video Playback
Once you've completed your initial setup process and customizations, you may be curious about how to review video footage from your system. Thankfully, accessing recorded content on a Security Cameras Inc Series NVR or DVR is easy and comes with plenty of handy playback features. There are also event-based search methods to narrow your search to a camera or detected event. To understand more about these controls and how to access your recordings, check out the video provided below.
7. Downloading Recorded Video
Using an NTFS or FAT32-formatted thumb drive up to 256GB in capacity, exporting short video segments from the Security Cameras Inc Series is pretty straightforward. There are various useful methods for exporting video, including the classic of choosing a start and end date and time or utilizing the timeline controls. Moreover, you can also export a specific video file or event that you find. For a detailed guide on how to export video, view our tutorial video below.

