
How to Install Wireless Security Cameras for Barns and Garages

Setting up a security camera system for a barn, garage, shop, or other outbuilding offers added peace of mind for rural and suburban home owners. When running cables directly from the main building is impossible or too difficult, a wireless bridge system is one of the best solutions for getting surveillance coverage in these locations. Using a point-to-point wireless bridge, you can connect security cameras in remote buildings to the central network in your home, allowing you to monitor your property from a single hub, whether it’s from your computer, smartphone, or TV.
Here's a step-by-step guide on setting up a wireless bridge security camera system from CCTV Camera World for a farm or outbuilding, including key considerations and tips for a successful installation. When we ship wireless bridge systems, we preconfigure the cameras, radios, and NVR to talk with one another. We also prepare a configuration document that shows how to connect all of the devices together.
If you're more of a visual person and want to see this type of system and how it connects watch our video below.
Get in touch with our support department or give us a call if you’re interested in a professional and reliable surveillance system for your barn or garage.
Contents
- Equipment Used
- Step 1: Bench Test the Equipment
- Step 2: Run Ethernet Cabling in the Barn and Home
- Step 3: Install the Cameras and Connect the PoE Switch
- Step 4: Install the Access Points for the Wireless Bridge
- Step 5: Power On the Equipment and Verify Connections
- Step 6: Complete the Setup and Monitor from Home
- Video Tutorial
- Final Tips

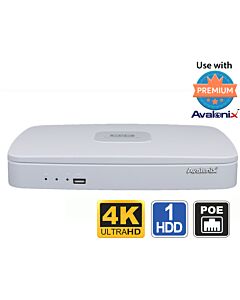
Equipment Used
In this guide we use the following equipment to put together a bridged wireless system.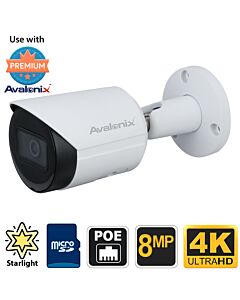
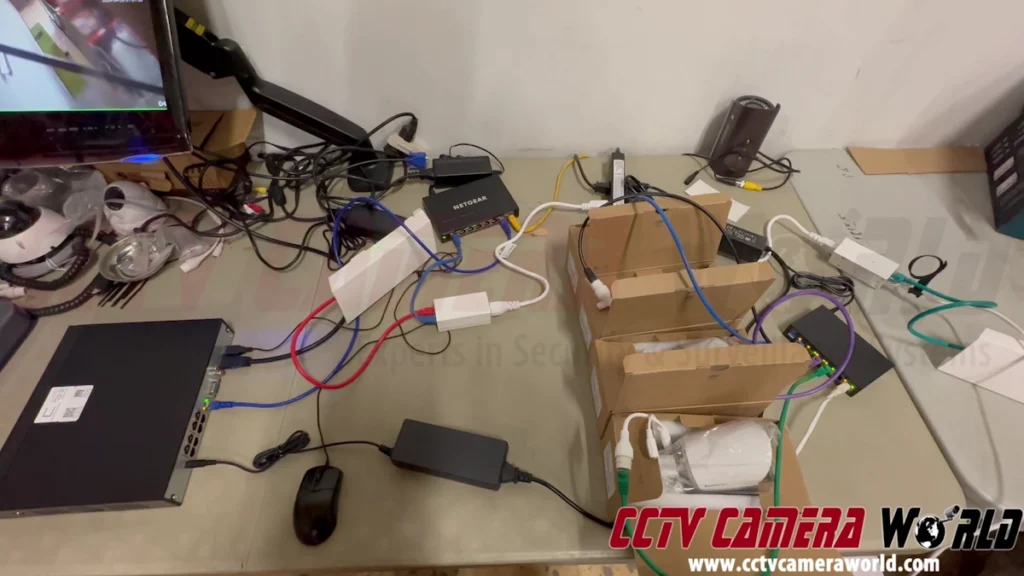
Step 1: Bench test the equipment
Bench testing is essential to ensure the entire system is functional before beginning the installation. Testing allows you to verify that each component—cameras, network video recorder (NVR), access points, and PoE switch—is working correctly and helps familiarize you with the system's setup.
- Connect the NVR: Start by connecting the NVR to a TV or computer monitor and use the included USB mouse. Power it in your home or wherever you'll primarily access it. This way, you won’t have to move it after the bench test.
- Check each camera and connection: Connect each camera and the outbuilding access point to the PoE switch.
- Power the home access point and aim it at the outbuilding radio on your bench: To finish bench testing, connect the home access point to power and connect it to the router.
The cameras should show up on the NVR grid screen within a few minutes of connecting everything.
Step 2: Run Ethernet cabling in the barn or garage and home
Network cabling is used for creating the link between cameras, access points, and the NVR. Ethernet cables transmit both data and power when connected to PoE (Power over Ethernet) devices, making them essential for reliable connectivity.
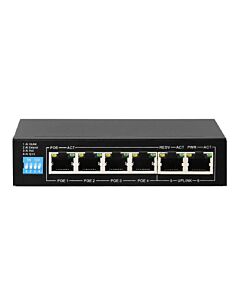
- Place the PoE Switch: Install the PoE switch in a secure area sheltered from the weather in the outbuilding. The switch provides power and data connections for the cameras in the barn or outbuilding.
- Run Cable for the Home Access Point to Router: Run an Ethernet cable from the router in your home or main building to where the access point for your home will be mounted.
- Run Cable for the Barn or Garage Access Point to PoE Switch: Run an Ethernet cable from the switch in your barn or garage to where you will mount the access point for the outbuilding.
This step will ensure that your WiFi bridge is active and that data can flow between the buildings.
Step 3: Install the cameras and connect the PoE switch
Once the network infrastructure is in place, run your camera Ethernet cables and mount the cameras in strategic spots around the outbuilding. Common placement spots include entry points, storage areas, and animal stables to provide optimal coverage.
- Run Ethernet to Each Camera: Run Ethernet cables in your building to connect each camera back to the PoE switch. If the cables need to be run on the outside of your building, be sure to protect the cables by using conduit. It’s also a good idea to test your cables after running them to confirm they are crimped well and have good connections.
- Mounting Bullet Cameras: Bullet cameras are easier when installed outdoors. If you plan to mount them on an exterior wall, you should consider using a junction box to protect the cables.
- Mounting Dome Cameras: Dome cameras are easier for indoor setups and can be easily mounted on ceilings, eaves, or rafters. We recommend using junction boxes for outdoor mounting.
- Connect Cameras to the PoE Switch: Once mounted, connect each camera’s Ethernet cable to the PoE switch in the barn.
This step will provide power to each camera and link them to the network infrastructure. The cameras should boot up within a few minutes of connecting them to the switch.
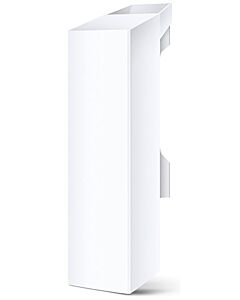
Step 4: Install the access points for the wireless bridge
Installing access points for the wireless bridge is one of the most critical steps. The access points establish a direct line of communication between the main building and the outbuilding, enabling data transmission between the buildings without a physical cable.
- Aiming and Height: Place the access points facing one another and at the same elevation. This alignment optimizes signal strength, ensuring better data transmission and fewer connection drops.
- Avoiding Obstructions: The signal can be interfered with by any obstacles, such as trees, equipment, or other buildings, between the access points. Try to install them above obstructions whenever possible.
- Adjust if Necessary: Small adjustments in the access points' alignment can significantly improve the wireless bridge connection, so check for a clear line of sight and adjust accordingly.
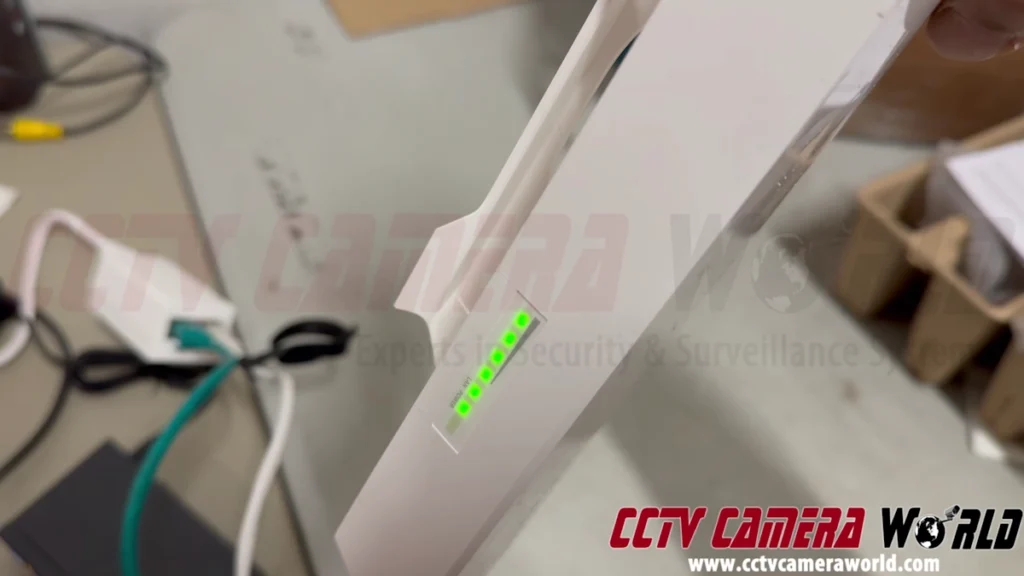
Both of the access points have signal indicator lights on them; try to make sure that both of them have a full signal for the best results.
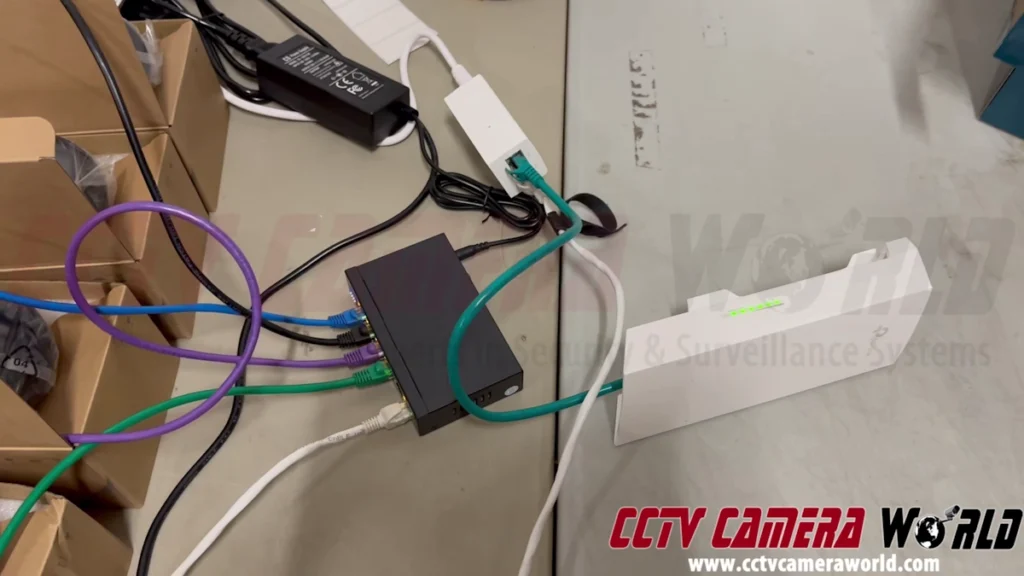
Step 5: Power on the equipment and verify the connections
After installing everything, power up each component to confirm proper connection. If not already connected, plug in the PoE switch and access point power injectors, and power on the NVR.
- Confirm Camera Power and Connectivity: The PoE switch should display indicator lights for each connected camera, confirming that they’re receiving power and transmitting data.
- Power the NVR On and Wait for Cameras: The cameras are already added to the NVR from the order testing process. As long as everything is connected correctly and powered on, you should see cameras come up within a few minutes.
- Final Adjustments: If any connections are weak or cameras aren’t responding, check the cables, access point alignment, and connections, as well as the PoE switch connections.
Step 6: Complete the setup and monitor from home
Once everything is connected and functional, your security camera system should be live and ready to use. At this point, you can begin monitoring the camera feeds from the NVR and enjoy the peace of mind knowing you can keep an eye on your outbuilding with a few taps.
- Set Up Remote Viewing: If you have reliable internet, consider setting up remote viewing. This feature allows you to monitor camera feeds from your phone, tablet, or computer, providing peace of mind when away from home. To learn more about setting up remote viewing, visit our Dummies Guide to Watching a Security Camera System From the Internet.
- Familiarize Yourself with the System: Spend time learning the system’s features, such as playback, motion detection settings, and alerts. This knowledge will help you make the most of your security camera setup. Check out our complete How to Use Premium Security Systems by Avalonix tutorial page with links to the various guides for using, viewing, and configuring your new system.
Video Tutorial
We also have a comprehensive video tutorial of the whole process which you can find below.
Final Tips
- Check Signal Strength Regularly: Frequently check the signal strength between the access points. If the signal weakens, adjust the alignment or clear any new obstructions.
- Save your Configuration Document: Make sure you save a copy of the configuration document in a safe place if you ever need it to reconfigure any of the devices or access one of the radios for troubleshooting.
- Routine Maintenance: Clean camera lenses and check connections periodically to ensure the system stays in top condition.
With a wireless bridge setup, you can easily monitor and secure remote areas like barns, shops, or garages without the hassle of running long cables. This setup is ideal for properties where wired connections are impractical, allowing you to extend the reach of your security system and safeguard your entire property.