

How to Set Up a PoE IP Camera - Beginner's Guide

Buying a security camera is exciting, but setting one up and using it can be difficult if you're not tech-savvy. Don’t worry! We’re here to help you get your camera up and running in no time; no prior tech experience or skills are required. We’ll show you how to power and connect the camera, view live video from a smartphone or computer, and how you can record as well as play back recorded footage.

Table of Contents
- What You Need to Get Started
- Step 1: Power and Connect the Camera to your Network
- Step 2: View the Camera from your Smartphone or Tablet
- Step 3: View Avalonix IP cameras using your PC
- Optional - Connect to the camera's web interface using SmartPSS Lite
- Recommended Reading
- Troubleshooting Tips
- Frequently Asked Questions about PoE IP Cameras
What You Need to Get Started
Think of your IP security camera like a tiny computer, as it needs both power and a network connection to work. This guide will walk you through setting up a wired Power over Ethernet (PoE) IP camera.
Using a wireless or WiFi camera instead? Check out our guide on setting up a Wireless Security Camera with a WiFi Router.
Here’s what you’ll need:
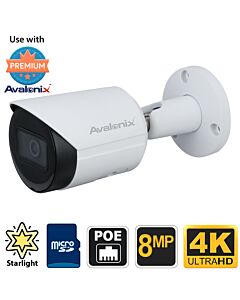
- An IP security camera from CCTV Camera World
Here’s a selection of our most popular models:
-
-
-
-
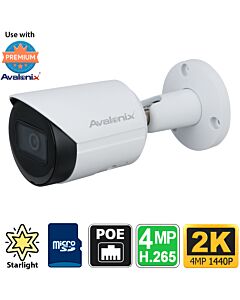
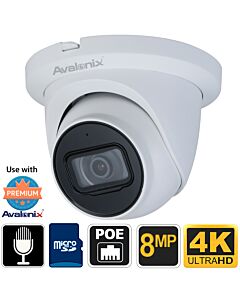
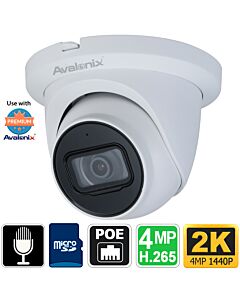 2K Turret Dome IP PoE Camera, Microphone, Starlight, Smart Motion DetectionSKU: IPD404VPA$149.99 $269.99 44% off
-
- One of the following power options which is 802.3af/at compliant:
You can find a full selection of PoE switches and other accessories here.
Tip: Most cameras have a 12V DC connector included in the cabling connectors (pigtail), but you can ignore it. Just be sure to use only one power source at a time. We recommend using PoE power only as it is convenient.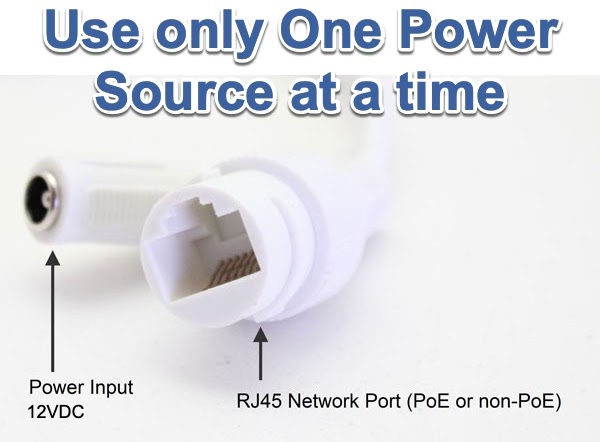
-
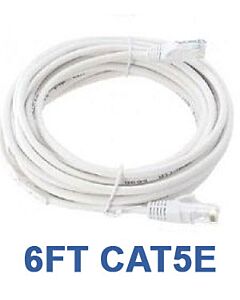
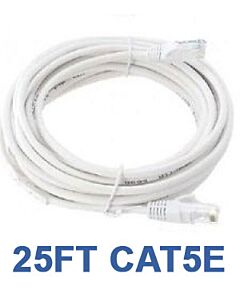
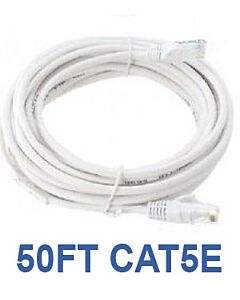
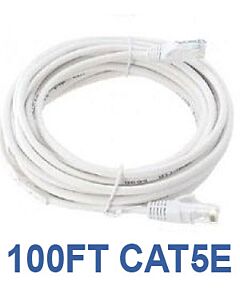
- Computer Network Ethernet Cable. You will need two (2) Ethernet cables if you are using an injector or switch. One would be a longer cable that will travel from indoors to your camera. Customers usually choose a 100ft CAT5e cable for the cable going to the camera, and a 6ft CAT5e cable to connect the PoE injector to their router.
-
- A Windows PC or Mac with Apple Silicon connected to the same WiFi network, or wired to the same modem or router
Tip: You can watch and configure the camera from a smartphone or Mac, but we recommend using a Windows computer for the easiest and most compatible setup experience.
Step 1: Power and Connect the Camera to your Network
Important networking note: For reliable discovery and remote access, the camera must be connected to the primary router on your network. Networks that include multiple routers, mesh systems, VPNs, or segmented subnets can prevent the camera from being discovered or connecting properly.
Customers are responsible for the configuration and behavior of their local network. If the camera is not discoverable on your network and you are unable to troubleshoot the networking environment on your own, additional charges may apply if you require hands-on networking assistance from our staff.
For this reason, we strongly recommend purchasing a networking support session at the time of purchase if your setup includes anything beyond a single main router.
Powering and connecting your camera is the first step, and how you do it depends on your power supply. Below are the two most common methods.
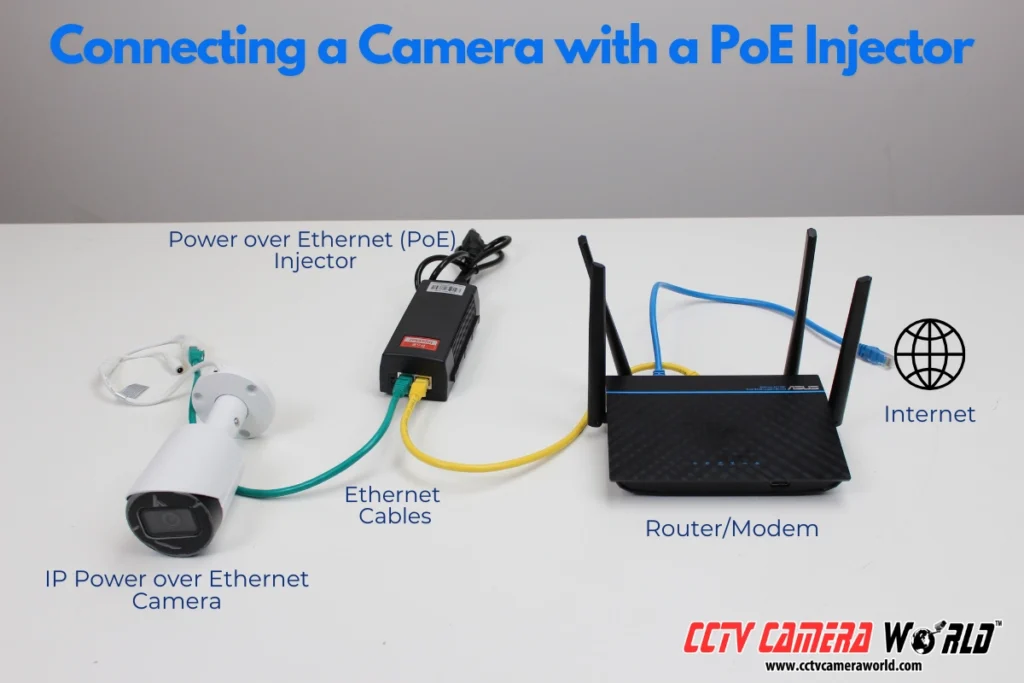
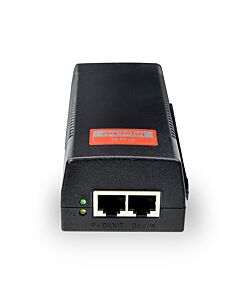
Method A) Connecting a PoE Security Camera with a PoE injector
A Power over Ethernet (PoE) injector is one of the simplest ways to power and connect a network camera using a single Ethernet cable.
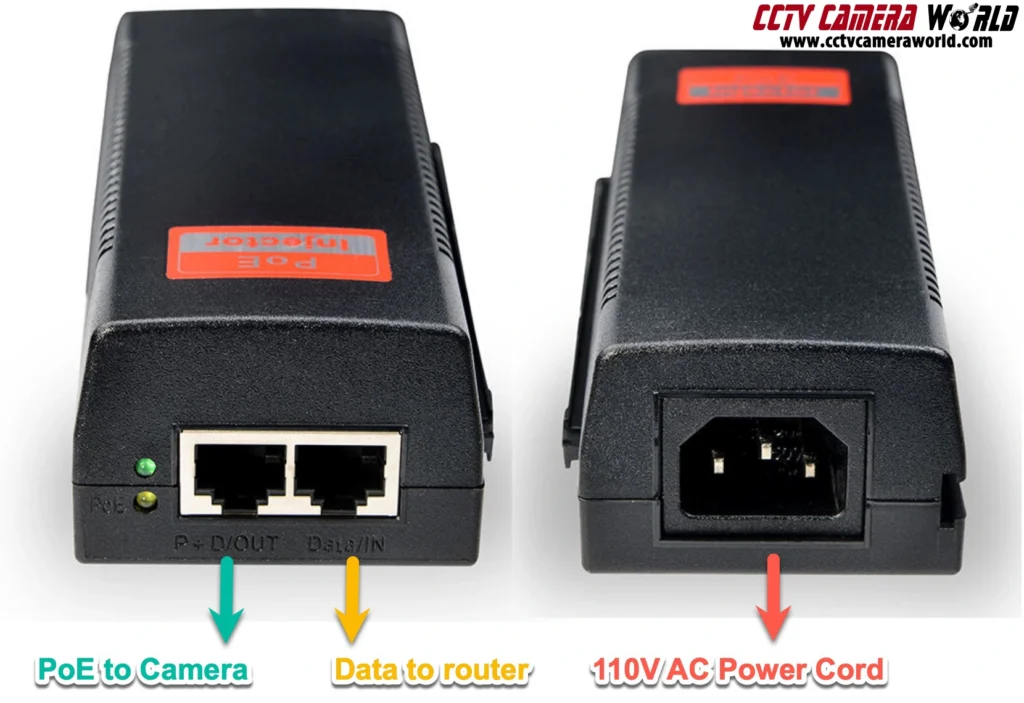
A typical injector has three connections:
- A socket for a standard 3-prong power cord
- An Ethernet port labeled Data or “D” (connects to router/modem)
- An Ethernet port labeled Power+Data or P+D (sends power and network to the camera)
Note: Labeling will vary depending on the injector.
Here’s how to connect a PoE camera and injector:
- Plug the injector into a power outlet using the power cord.
- Connect an Ethernet cable from your router/modem to the Data port of the injector.
- Use a second Ethernet cable to connect the Power+Data port from the injector to the camera’s RJ45 Ethernet port.
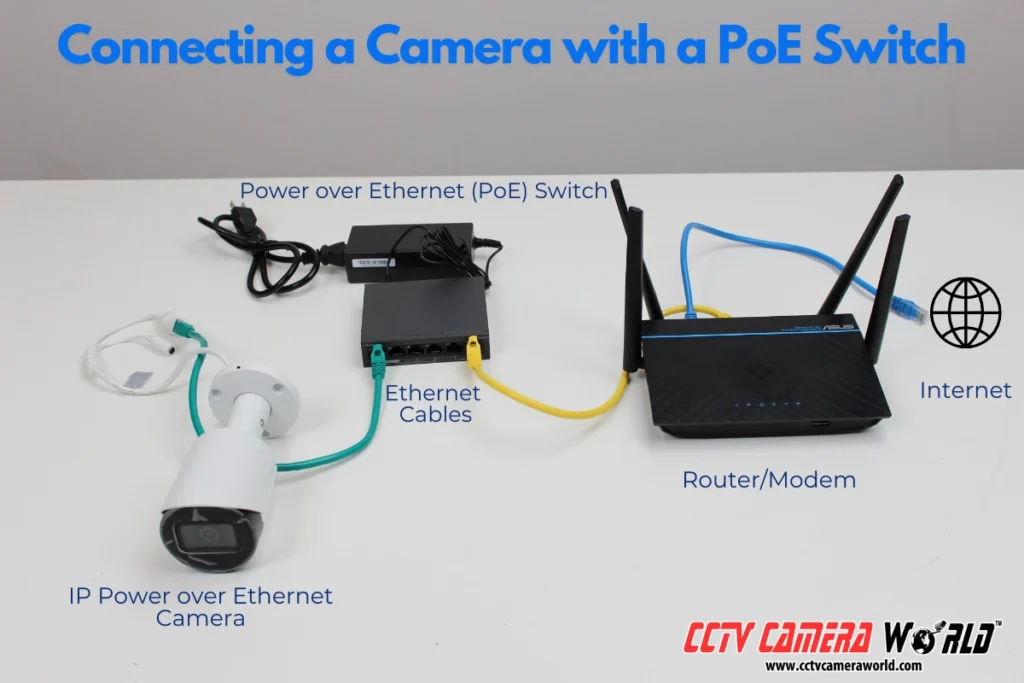
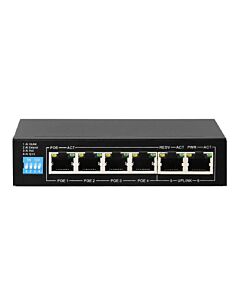
Method B) Connecting a PoE IP Camera with a PoE Switch
PoE switches are like injectors but with more ports, allowing you to power and network multiple devices.
Most switches have two port types:
- PoE ports – Supply both power and data to devices like IP cameras
- Uplink ports – Connect the switch to your router, modem, or another switch
Note: Some switches don’t separate these and instead only send power on ports that need it. Refer to the documentation for your switch to learn what ports it has.
Here’s how to connect an IP camera to a PoE switch.
- Plug the switch into a power outlet using the included cord or power supply.
- Connect an Ethernet cable from your router/modem to an uplink port (or any port if none are labeled).
- Connect a second Ethernet cable from a PoE port to the camera’s RJ45 Ethernet jack.
With the camera powered on and connected to your computer network, you can now access it from your computer or phone.
Step 2: View the Camera from your Smartphone or Tablet
All of the Avalonix Premium cameras support remote viewing through the DMSS app, available for iPhone, iPad, and Android devices. The app is excellent for live viewing, playback, and adjusting basic settings.
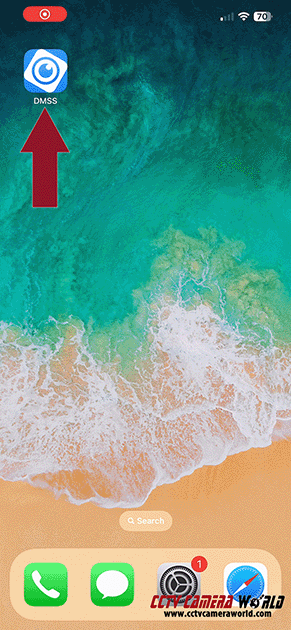
Step 2a) Download the App
You can download the DMSS app on your smartphone by clicking on one of the images below depening on whether you are using an iPhone, iPad, or Android device.Step 2b) First-Time App Setup
When opening the app for the first time:
- Allow notifications if prompted (optional.)
- Tap Agree to the license and service terms.
- Swipe through the intro screens until you reach a screen with a blue arrow →, and tap it to continue.
- Choose your country or region, then tap OK.
- You may see a screen asking you to sign in or create an account; you can skip this by tapping the X in the top corner.
- The app may ask to search your network. You can allow or skip this, as we'll be using a QR code instead.
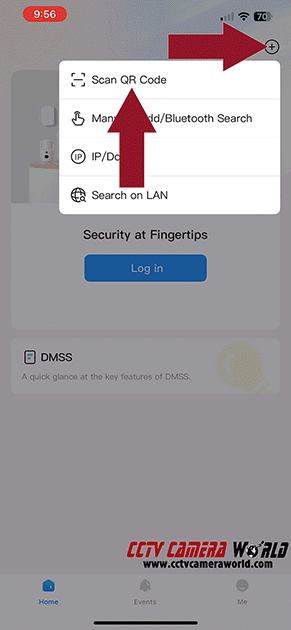
Step 2c) Adding the Camera to the App
- Tap the plus (+) icon at the top right.
- Select Scan QR Code.
- Allow camera access if prompted.
- Point your phone at the QR code, usually found:
- On top of your camera’s box.
- On the camera itself.
- Or in the web interface under Network > P2P.
- Select Wired Camera as the device type.
- Fill in the following:
- Device Name: Anything you like (e.g., “Driveway Cam”)
- Username: admin
- Password: Found on the label included with your camera
- Tap Save at the top right.
- If asked about UPnP, leave it enabled for better performance.
For a full walkthrough on using the app, check out our iPhone iPad App for Remote Viewing Your Security Cameras tutorials.
Step 3: View Avalonix IP cameras using your PC
The easiest way to access your camera from a computer is by using the free Camera Monitoring Software available for Avalonix IP and PoE cams. It allows you to easily connect your camera over the internet using the serial number of the camera found in the QR code on the camera box or camera label; this is called the P2P connection method. Cloud P2P services need to be enabled on the camera and an internet connection is required for this easy connection method. If you're more of a techy, you can also use the local IP address of the camera on your network to connect locally or you can setup port forwarding to connect using an external IP address. Since P2P connection method is simple to setup and works for most users, we're going to focus on that in this post.
Step 3a) Download the software
- Depending on wheter you have a Mac or Windows PC, you can click and download the appropriate software version for your computer.
- Extract the .zip file.
- Double-click the .exe or .dmg installer and follow the prompts to complete installation.
Step 3b) First-Time Software Setup
When you launch SmartPSS Lite for the first time, you’ll have to run through a quick setup process:
- Scene Selection: Choose Video Monitor and click OK.
- License Agreement: Click the checkbox and then Agree.
- Privacy Policy: Click the checkbox and then Agree.
- Set a Login Password (this is to open the software, not for the camera), then click Next.
Tip: Check the Auto Log In option during registration to skip the log in during future launches.
- Set Recovery Questions, then click Complete.
- On the final popup (User Experience Improvement Program), click Not Now.
Step 3c) Adding the Camera to the Software
- On the Home screen, click Devices under the Management section.

Tip: If you find yourself lost in the software, click the Home tab at the top to navigate back.
- In the Devices tab, click Add.
- From the Add Mode dropdown, select SN (Available on devices…)
- Fill in the fields:
- Device Name: Choose any name you like (e.g., "Front Cam," "Office Cam")
- SN (P2P Code): Found on the label on top of your camera’s box or the camera’s actual serial number
- Username and Password: Default info is also on the top flap label
- Click Add and wait 10–15 seconds for the status to show Online.

After clicking Add, wait a minute or two for the software to establish a connection with the camera and show an Online status.
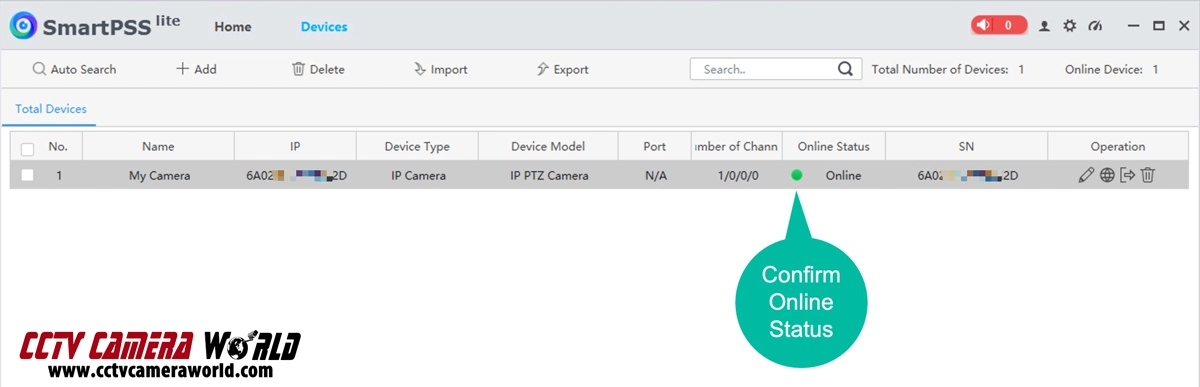
Note: If the status doesn’t change, double-check your SN, username, and password, then click the login button (door icon with arrow).
Step 3d) View Camera in Live View over the internet
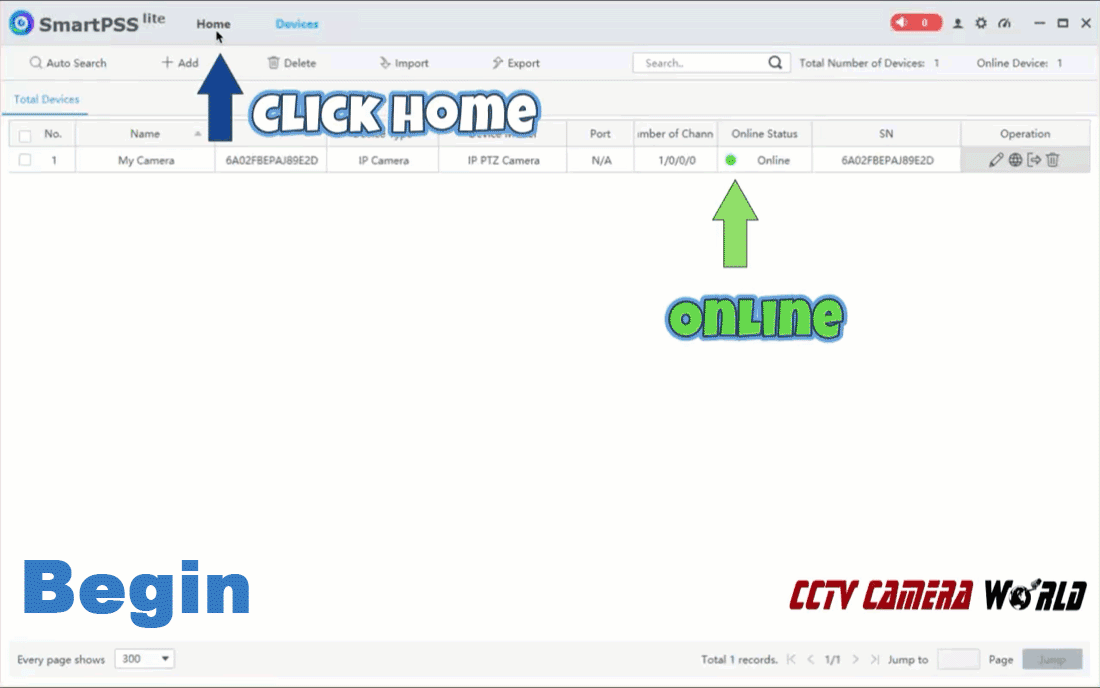
If the camera status shows Online, you're all ready to start viewing the video stream from your new camera. As shown in the image below, follow these steps:
- Click on the Home button in the top menu bar
- Click on Livew View from the options in the center of the program window
- Double click on the camera name you would like to view from the device menu in the left-hand column
- In a couple of seconds, your new Avalonix camera will start streaming video
- You can double click on the camera picture from one of the quadrants to view in full screen mode
Optional - Connect to the camera's web interface using SmartPSS Lite
If you're a techy and you'd like to access all the features the camera has to offer, you can login to the camera's web interface using the "Link to web" feature available in SmartPSS Lite. Through the web interface you can make changes to the camera settings such as video conditions, encoding settings, and on-board storage. Follow these steps to connect to the web interface:
- Make sure you're still in the Devices tab under Management in SmartPSS Lite.
- Click the web icon (between the pencil and door-arrow icons).
- Click Yes on the window prompt: “You will be redirected to the webpage of the device…”
- Microsoft Edge will open automatically.
- Enter your camera login credentials and click Login.
- To configure settings, click the Setting tab in the top-right corner of the web interface.
Important: Avoid changing settings you’re unfamiliar with. Send our support team an email if you’re unsure what something does.

Recommended Reading
This guide shows how easy it is to use a PoE security camera purchased from CCTV Camera World. With an available internet connection there is no complicated networking required. You can start viewing from a phone or PC in minutes. If you're interested in learning more about the full capabilities of our professional cameras, we recommend reading our guide on how to use a security camera as standalone. You'll learn how to record and access on-board video storage that our cameras offer.
Troubleshooting Tips
If your camera isn’t working as expected, try these quick fixes. You can also contact our support team with a valid order number to receive free email support, Monday through Friday, 9 AM to 5 PM EST.
Camera Won’t Power On
If your camera doesn’t connect in the app:
- Check for infrared activity: Cover the camera or turn off the lights in the room and wait a minute. If the camera is on, the infrared LEDs will glow a faint red and may make a clicking sound.
- Verify the power source: Make sure your PoE injector or switch is plugged into a working outlet and has visible status lights.
- Check port connections: Ensure the Ethernet cable is plugged into the correct ports. Power+Data (P+D) for the camera and Data for your router or modem.
- Secure the connections: Double-check both ends of the Ethernet cable.
- Try, try again: Try a different cable or port, if available.
Camera won't add to mobile app (DMSS)
An Online status is required to view or configure your camera from SmartPSS Lite.
- Choose Wired Camera as the device type during setup.
- Verify that the SN (serial number) entered by scanning the QR code matches the one on your box or camera.
- Enter the password exactly as shown on the label, and pay attention to capitalization.
- Make sure your phone is connected to the internet (for remote access) or local WiFi (for LAN scanning).
- If remote viewing only works on WiFi, ensure you added the camera using the Scan QR Code method, not the IP/Domain or Search on LAN options.
No Online Status in SmartPSS Lite
The Link to Web feature is only available once the camera shows an Online status. In addition to the steps above:
- Ensure your PC is connected to the same network as the camera.
- Confirm the camera is powered on and the Ethernet port it’s plugged into shows activity (check your router/switch lights).
- Check if an error message appears next to the Offline status.
- Re-enter the P2P serial number carefully and watch for typos.
- Click the login icon (door with arrow) to retry the connection.
Link to Web Isn’t Working
The Link to Web feature is only available once the camera shows an Online status. In addition to the steps above:
- Double-check the serial number, username, and password in the device settings.
- Restart SmartPSS Lite and your PC.
- Confirm your PC has an active network connection.
- If the camera still won’t connect, contact support with your order number.
Login to web interface fails
If you can’t log into the camera’s web interface:
- Use the default username: admin
- Use the password from the label on your camera’s box.
- Make sure Caps Lock is off.
- Watch for case sensitivity or extra spaces if copying and pasting.
- If the login still fails, contact support for assistance.
Frequently Asked Questions about PoE IP Cameras
Do I need a Windows PC to set up the camera?
We recommend it. Using a Windows PC with SmartPSS Lite gives you full access to camera settings through the software’s built-in Link to Web feature. While you can view the camera on a smartphone or tablet, some advanced options are only available through the software and web interface.
Can I set up the camera using just my smartphone?
Yes, for basic use. The DMSS mobile app lets you add the camera using a QR code and view live video or playback. However, you’ll need a Windows PC if you want to access full configuration options.
Do I need an internet connection?
Yes and no. For initial setup, you will need an internet connection to use the P2P method for accessing the camera. However, once setup is complete, and with a basic understanding of IP addresses, you can access the camera locally through its LAN IP address without internet.
However, internet is required for:
- Remote viewing while away through the DMSS app
- Using the Link to Web feature in SmartPSS Lite
Do I need to worry about the separate power connector on the camera?
No, PoE (Power over Ethernet) is the recommended method. If your camera is connected to a PoE switch or injector, you can ignore the 12V connector.
What’s the difference between the IP address and the P2P code?
The IP address identifies the camera on your local network and is used in web browsers or local tools.
The P2P code (or SN) is used for remote access via apps like DMSS or software like SmartPSS Lite. It’s usually found on a label on your box or camera.
What if I forgot my camera’s password?
First, check the label on your camera box; it includes the default login credentials. If you changed the password, submit a support request.
Why does remote viewing only work when I’m on WiFi?
This means the camera was added to the app using one of the local IP address methods instead of the QR code/P2P method. Delete the device from the app and re-add it using the Scan QR Code option for proper remote access.
Can I add more cameras later?
Yes. You can connect additional cameras using the same software or app. If you're planning to expand your system, consider purchasing an NVR (Network Video Recorder) to access, record, and manage multiple cameras all through a single device and have a complete NVR security system.